Migrating Azure Redis Data to Azure Managed Redis
Azure Cache for Redis is reaching end of life and Microsoft is moving everyone to Azure Managed Redis. This runbook provides instructions for service teams to migrate their Redis data using the automated self-service pipeline. More information can be found in the azure-redis-migration repo.
Before You Begin
Who should use this runbook: Service teams who own applications using Azure Cache for Redis
What you’ll need:
- Source Redis hostname and resource group
- Target Redis hostname and resource group
Currently Supported Subscriptions
- DCD-CFTAPPS-SBOX
- DCD-CFTAPPS-DEMO
- DCD-CFTAPPS-ITHC
- DCD-CFTAPPS-TEST
- DCD-CFTAPPS-STG
- DCD-CFTAPPS-PROD
These are the standard environments wired into the pipeline service connections. If your Redis resource is in any other subscription, or needs a different private endpoint or DNS setup, contact PlatOps before running the migration.
Notes for Platops team
- We intentionally did not include all the service connection as we did not know which team will need migration
- Please liaise with Service Team and find out which service connection need adding on the pipeline and add that
- We have already added all the DCD-CFTAPPS-
service connections which you can use it as examples
Migration Steps
Step 1: Run the Migration Pipeline
- Navigate to the Azure Redis Migration Pipeline
- Click Run pipeline
- Fill in the parameters:
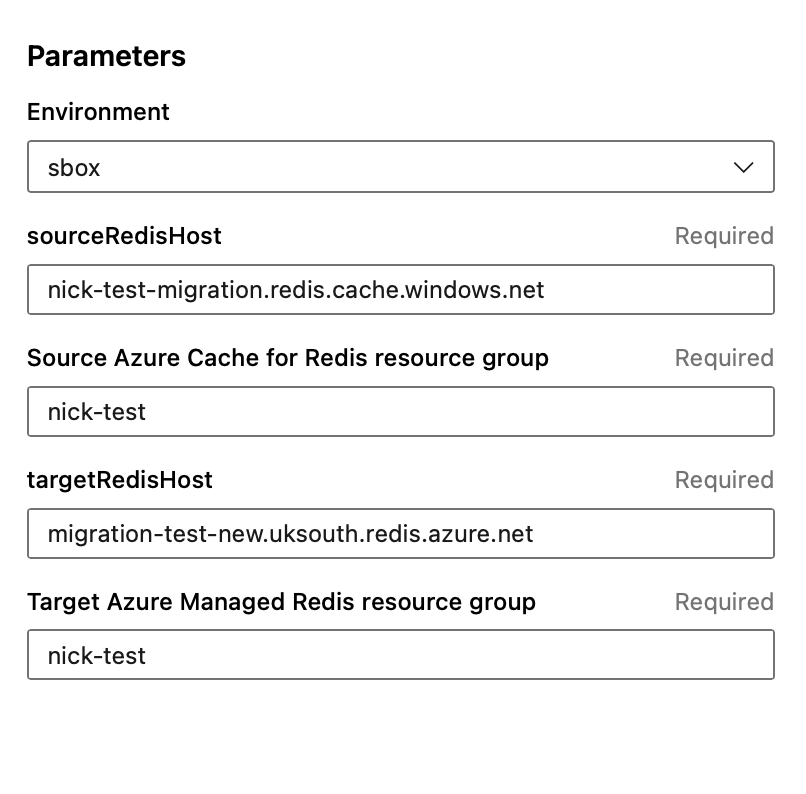
- Click Run to start the migration
Pipeline inputs expected by the current implementation:
environmentsourceRedisHostsourceRedisResourceGrouptargetRedisHosttargetRedisResourceGroup
If you need to migrate a Redis resource outside the covered environments above, contact PlatOps before running the migration.
Step 2: Monitor the Migration
Watch the pipeline as it runs. You’ll see:
✅ Retrieving keys - Access keys fetched using Azure CLI
✅ Testing connectivity - PING tests to source and target Redis
✅ Preparing keys - Removing expiry from source keys
✅ Flushing target - Clearing target Redis
✅ Migrating keys - Progress counter showing each key copied
✅ Verifying - Confirming all keys exist in target
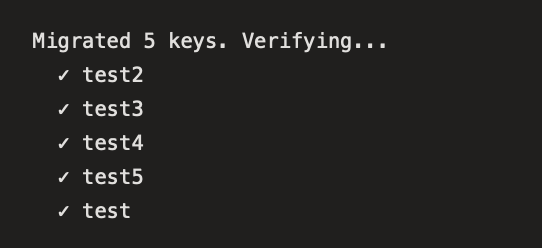
✅ Complete - Final summary: Complete: X/X keys verified in target
Example output:
Step 3: Verify the Migration
After the pipeline completes successfully, verify your data.
Option: Verify with redis-cli
# Connect to target Redis (use -c if the target is clustered)
redis-cli -h migration-test-new.uksouth.redis.azure.net -p 10000 --tls -c -a "Access_Key"

# List keys on the current shard only
KEYS *

# If you do not see a key with KEYS *, it may be on another shard.
# Use GET to retrieve individual keys.
GET <key>
Expected behavior:
- KEYS * only shows keys on the current shard
- GET <key> works across shards when redis-cli -c is used
- Without -c, you may see MOVED errors for keys on other nodes

How the migration works
Migration Method: Uses GET/SET commands instead of DUMP/RESTORE (incompatible between Redis 6.x and 7.x)
What happens: 1. Connects to both Redis instances 2. Removes expiry from source keys (prevents eviction during migration) 3. Flushes target Redis 4. Copies each key using GET (source) → SET (target) 5. Restores TTL values on migrated keys 6. Verifies all keys across cluster shards
Limitations
Supported data types: - String keys (fully supported) - Lists, Sets, Hashes, Sorted Sets, Streams (not currently supported) - Binary data with special characters
Data size limits:
- Bypasses Azure’s 512 MB RDB file import limit