Guide to Switch from One MacBook to Another
This guide provides step-by-step instructions to migrate your development environment and configuration from your old MacBook to a new one.
Step 1: Install Applications on New MacBook
On your new laptop, install necessary applications from the SelfServe portal:
- Install core applications you use daily (examples: VS Code, Microsoft Office, Sublime Text, Firefox, Adobe Reader, iTerm2, IntelliJ IDEA, etc.)
- Log in to communication and productivity apps:
- Slack
- Microsoft Teams
- Outlook
- Any other tools relevant to your work
Use your justice account for all authentication.
Step 2: Export Homebrew Packages from Old MacBook
On your old laptop, export all Homebrew-installed applications:
# List all installed Homebrew packages
brew list

# Update Homebrew and create a Brewfile
brew update
brew bundle dump --file Brewfile --describe --force
Verify the Export (Optional)
To confirm all packages were captured:
brew bundle list --file ~/Brewfile
Step 3: Transfer Brewfile to New MacBook
Transfer the ~/Brewfile from your old laptop to your new one using:
- OneDrive (if you are logged into both machines)
- Slack
Place the file in an accessible location (e.g., ~/Downloads/Brewfile)
Step 4: Import Homebrew Packages on New MacBook
On your new laptop, install all packages from the Brewfile:
brew update
brew bundle --file ~/Downloads/Brewfile
Installing Cask Applications
For macOS-specific applications (cask installations), ensure they are installed to the ~/Applications directory:
# Install a cask application to ~/Applications
brew install --cask --force intellij-idea --appdir=~/Applications

# Uninstall a cask application
brew uninstall --cask --force intellij-idea
Step 5: Copy Shell Configuration (.zshrc)
Transfer your shell configuration file from the old MacBook:
# On old MacBook - display your zsh configuration
cat ~/.zshrc
Copy the output and create the same file on your new MacBook:
# On new MacBook - create or update ~/.zshrc with the content from your old machine
nano ~/.zshrc  # or use your preferred editor
You can transfer the file via OneDrive or Slack if preferred.
Step 6: Copy SSH Configuration
SSH keys and configuration are essential for accessing Git repositories and VMs:
# Copy the entire ~/.ssh/ directory from old to new MacBook
# This includes private keys, public keys, and SSH config files
Important: Ensure you copy everything in the ~/.ssh/ directory to avoid SSH authentication issues when accessing Crime VMs and other infrastructure.
Workaround: Set Local DNS Without Waiting for Full Admin
If DNS resolution is failing while validating your SSH setup, you can use the local DNS resolver on your MacBook:
# Check which sudo commands are allowed on your account
sudo -l

# Point Wi-Fi DNS to localhost
sudo /usr/sbin/networksetup -setdnsservers Wi-Fi 127.0.0.1
Confirm the DNS change by querying a known domain:
dig github.com
If DNS is working, the dig output should include an answer section with an IP address.
Step 7: Crime Setup (If Applicable)
If you work with the Crime infrastructure, follow the setup guides on your new MacBook:
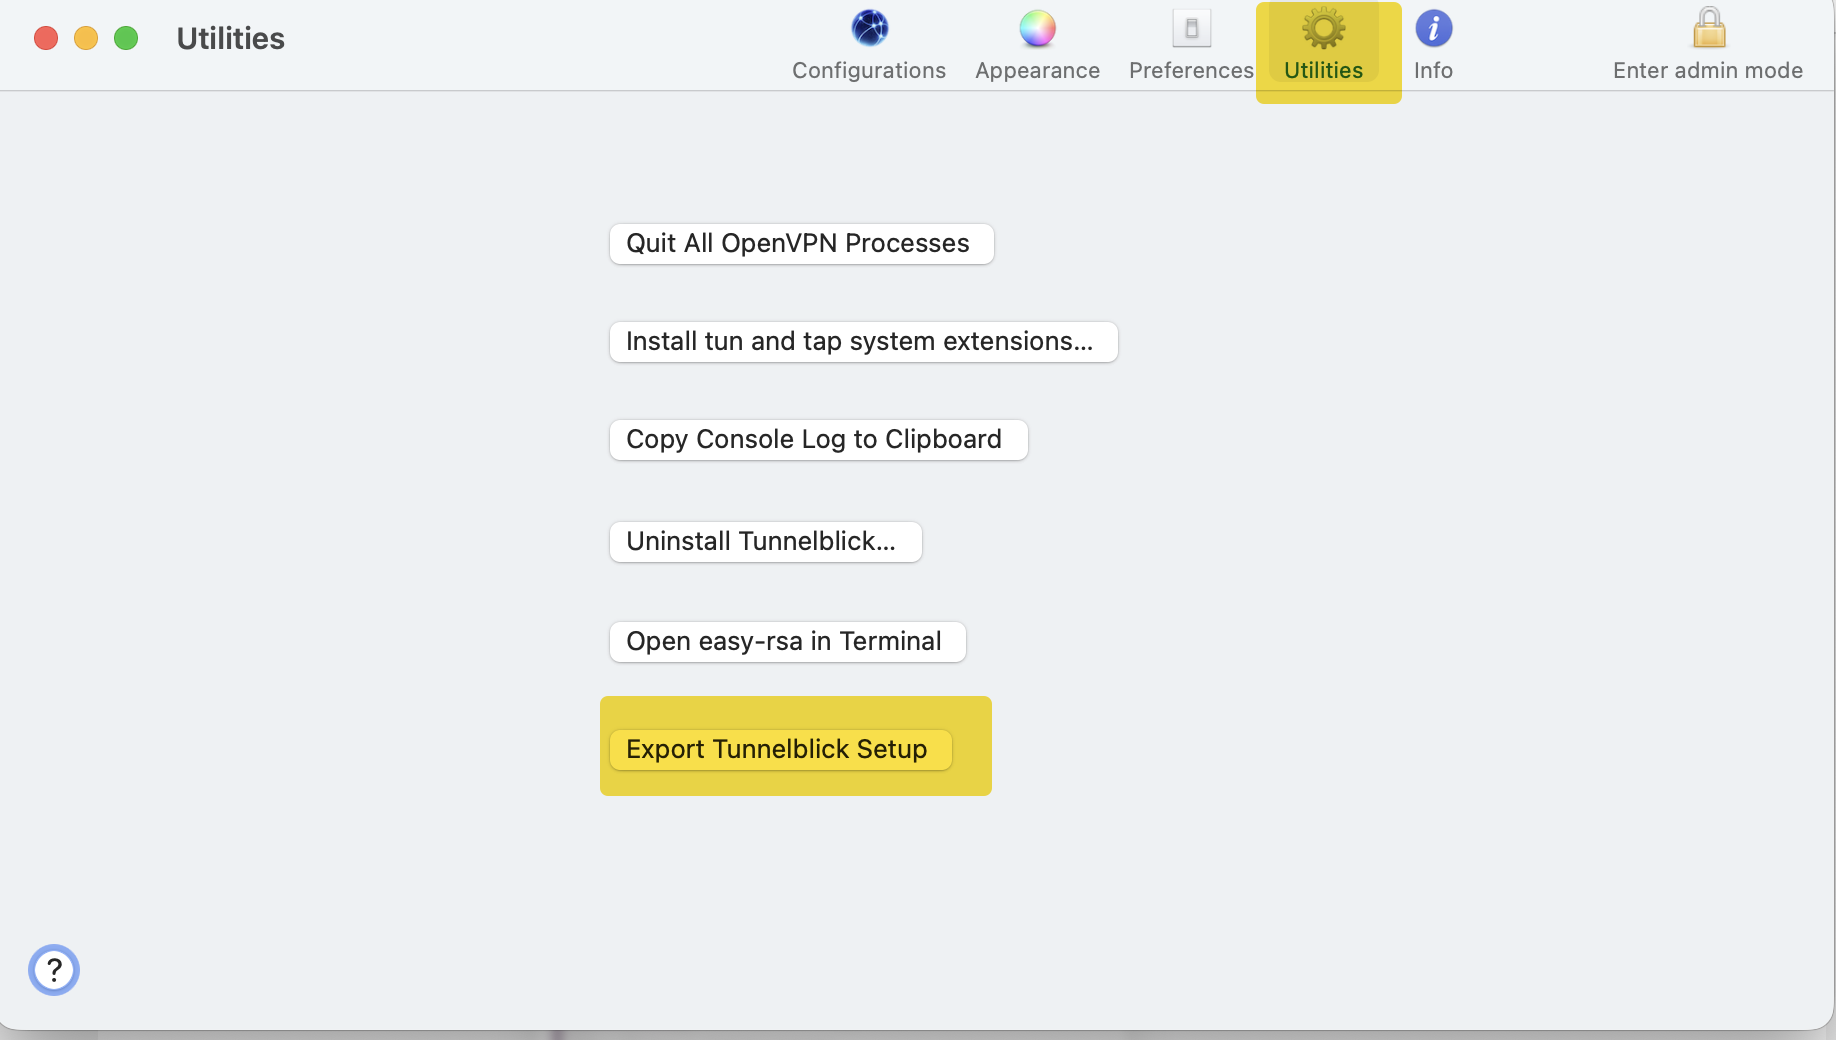
Step 8: Crime VPN Setup - Tunnelblick
Transfer your VPN configuration:
Export the VPN config from your old MacBook
- Export the existing Crime VPN configuration file from Tunnelblick
Transfer the
.tblkSetupfile to your new MacBook- Transfer the
.tblkSetupfile to your new machine using OneDrive, Slack, or another secure method
- Transfer the
You can export the configuration by right-clicking on the Tunnelblick icon in the menu bar, selecting “VPN Details”, then selecting your Crime VPN configuration and clicking “Export Configuration”.
(Please note when you export, it take some time to generate the file and it will be saved in your Desktop folder by default)
Request Temporary Admin Access
- You will need to raise a temporary admin request to setup the VPN on your new MacBook
- Follow the Temporary Admin Escalation Process for detailed instructions
Import the VPN configuration on your new MacBook
- Open Tunnelblick and import the
.tblkSetupfile when you have the Admin rights - Verify the connection works before proceeding
- Open Tunnelblick and import the
Step 9: Verify Setup
Verify your new MacBook is properly configured:
- Open F5 VPN from https://portal.platform.hmcts.net/ and confirm it connects correctly
- If you have Crime access, verify Crime VPN connectivity
- Connect to Tunnelblick nonlive VPN
- Check Gerrit is accessible - https://codereview.mdv.cpp.nonlive/
Step 10: Return Your Old MacBook
Once you have verified your new MacBook is fully configured and working correctly:
- Request the return of your old MacBook using the Equipment Return Request
- Follow the instructions provided in the ServiceNow request form
- Arrange collection or delivery of your old MacBook as instructed