Upgrading Ubuntu 20.04 to 24.04 on VM
This guide is here to show you how to upgrade the ubuntu version by hopping onto the virtual machine and using commands via the Terminal
Update Ubuntu using terminal:
Take a snapshot of the vm before making any changes - to prevent data loss.
To make the update easier you should sync the package index files from their sources via Internet List all available upgrades:
apt list --upgradable
If this message appears “The following packages have been kept back: python-crypto python-six 0 upgraded, 0 newly installed, 0 to remove and 2 not upgraded.”
 Use the following command to remove the packages and the new version of Ubuntu should automatically install python3.
apt remove python-crypto python-six
Important note: please make sure to check that the package being removed will be readded during the Ubuntu upgrade/ make a note to add it back manually and double check the packages version required.
Install newest versions of all installed packages on Ubuntu:
sudo apt update && sudo apt upgrade -y
Then reboot the system:
sudo reboot
Check the current version of ubuntu:
lsb_release -a
Port 1022, Ubuntu will automatically open another ssh port on 1022 to give provide a secure channel in case of server error. This command Opens the channel:
sudo ufw allow 1022/tcp
Upgrade to ubuntu 22.04 (from 20.04)
sudo do-release-upgrade
You will be asked to verify and few changes
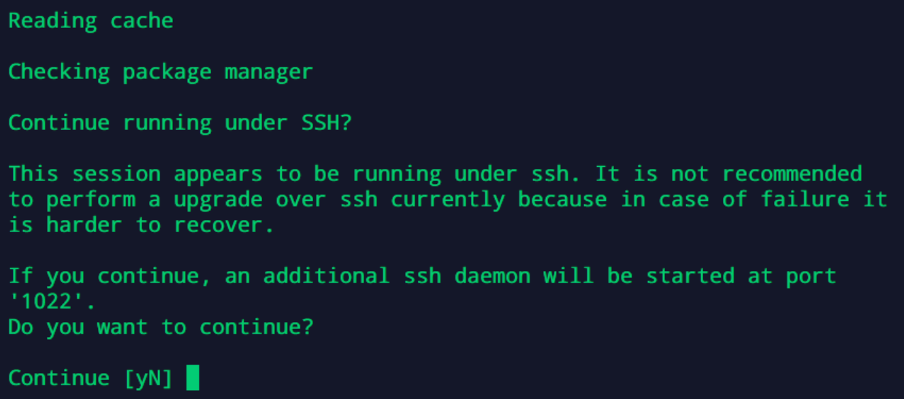
Type y
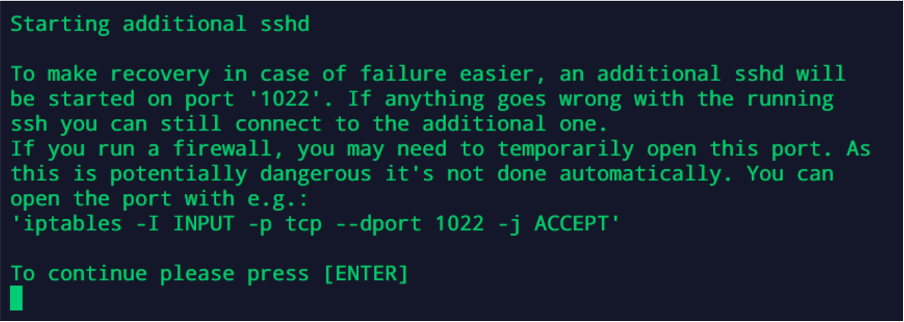
Type ENTER
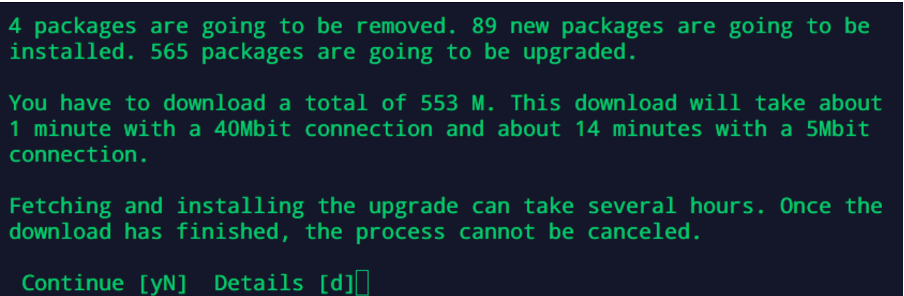
Type Y
You may see the following/something similar to the following screenshot, asking how you would like to handle certain configuration files:
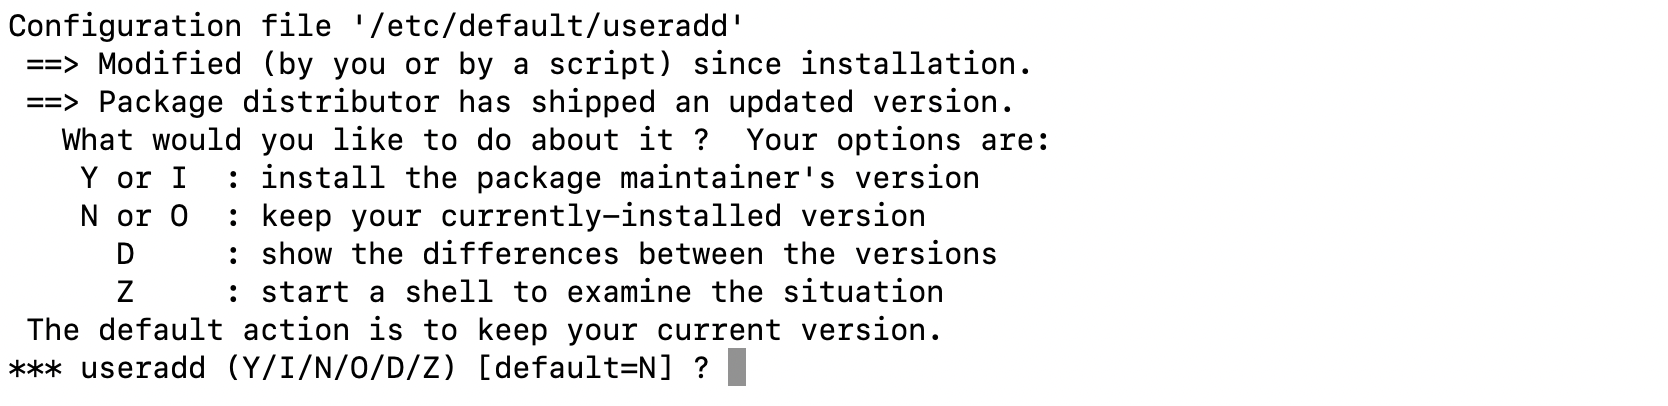
For this example type Y to install the packages maintainer’s version. This can change from file to file and vm to vm so double check what the file is used for and if it has been edited manually, it might be better to keep you currently-installed version.
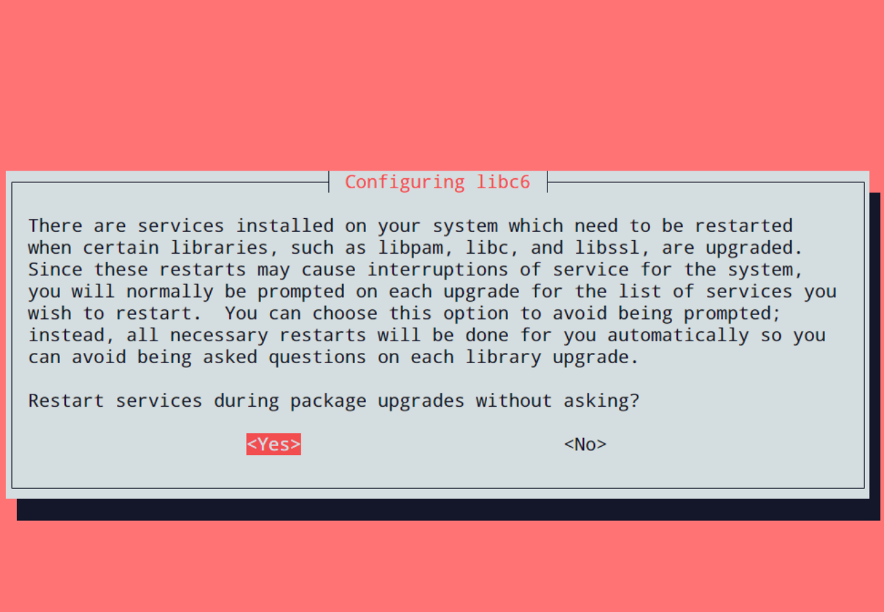
You will then get a pop asking to Restart Services during package upgrades without asking: Choose ‘Yes’
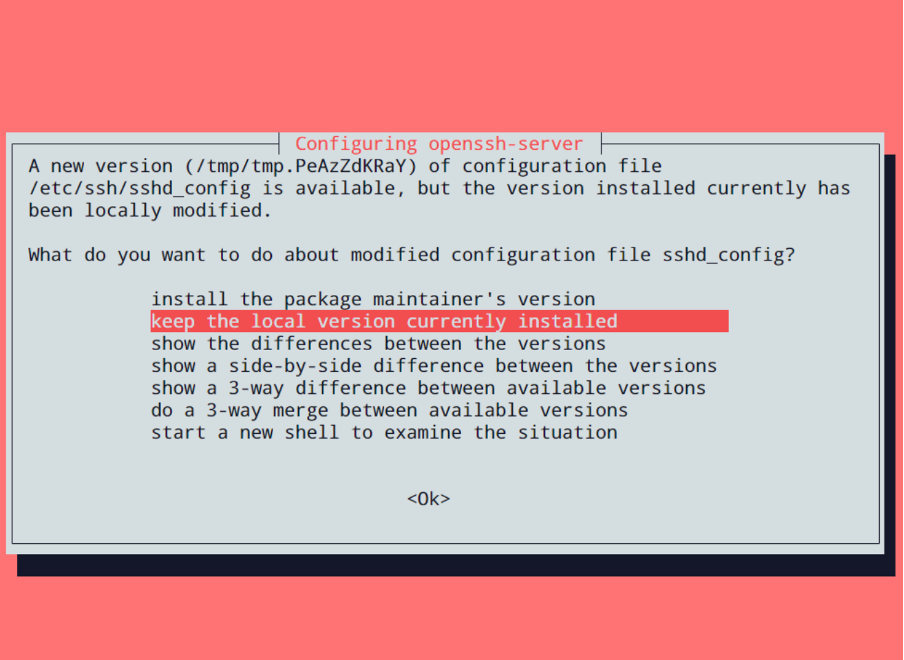
Next a Configuration pop up will appear stating you have made changes to the config file that the new config file doesn’t have. Select “Keep the local version currently installed”
This message will appear if you remove the resolvconf package:
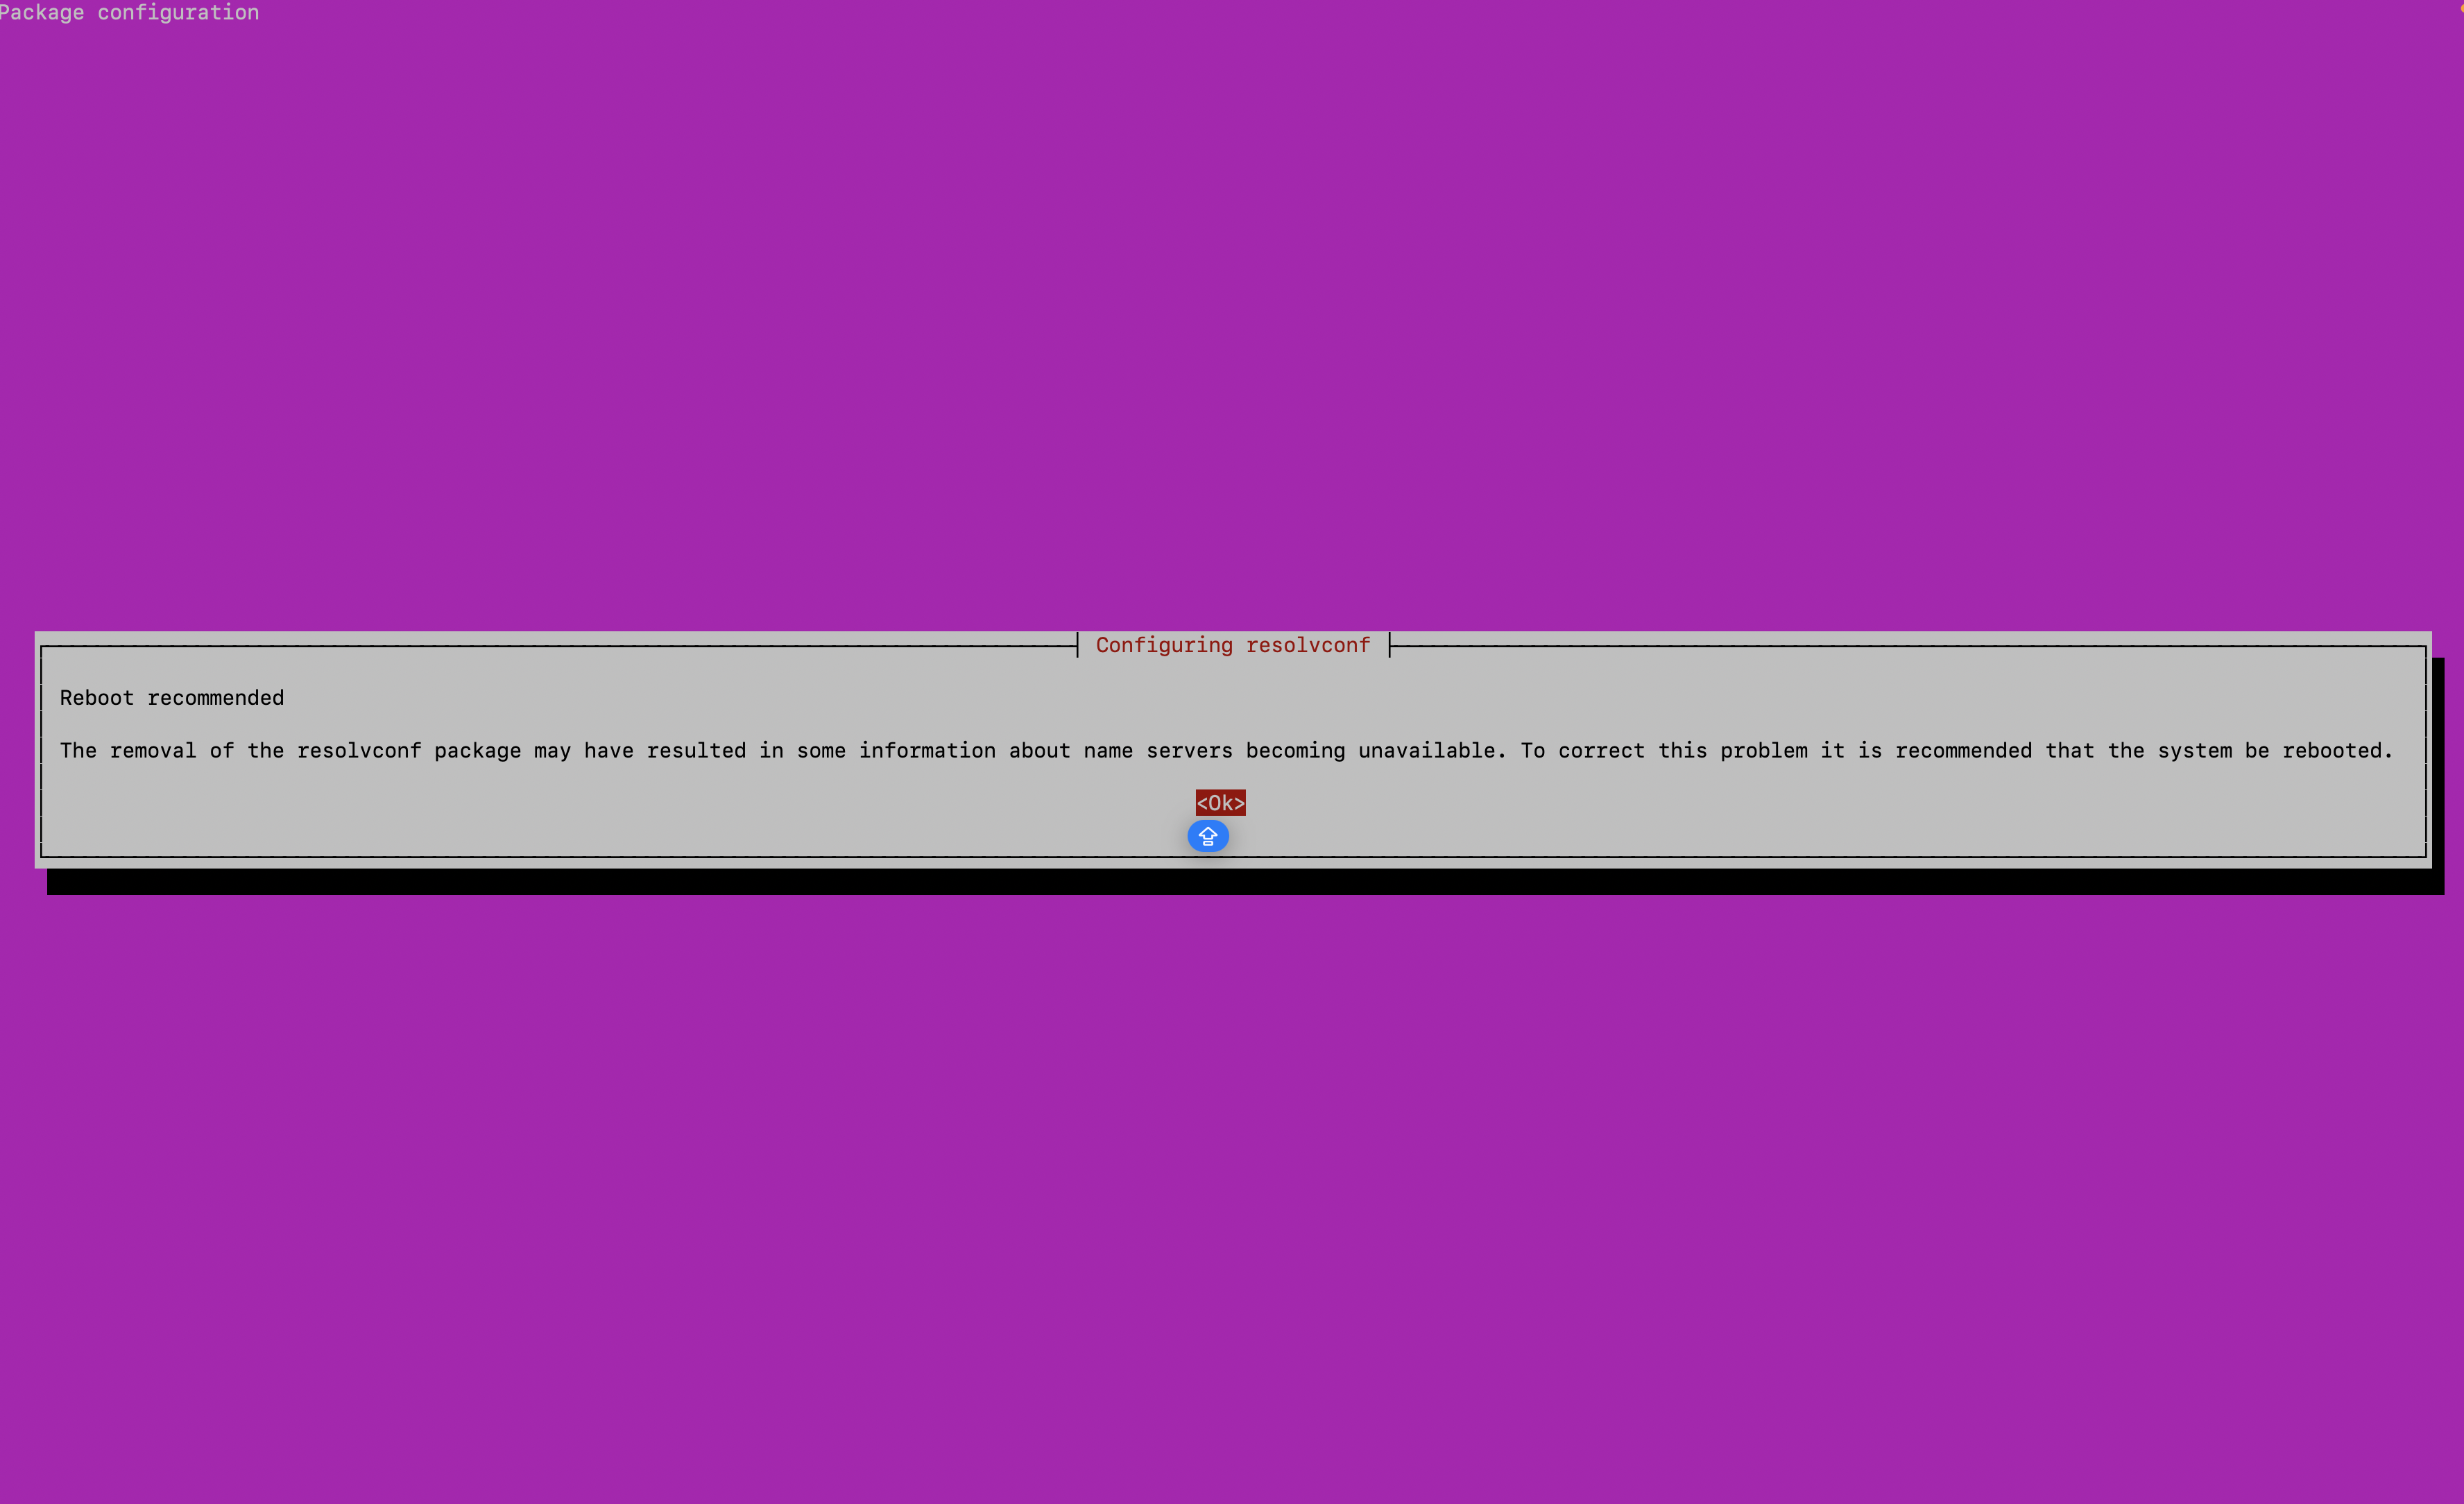
Hit enter to select OK
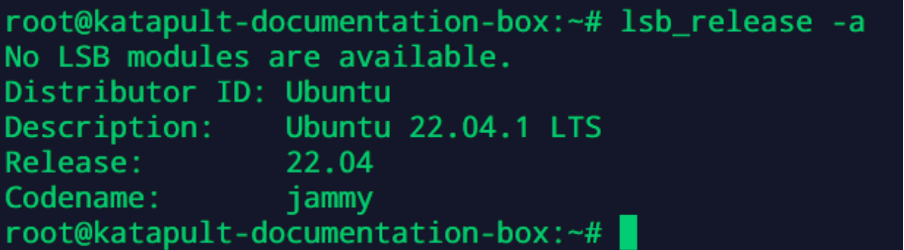
Type y to remove obsolete software packages and then type Y to restart the system. To confirm the upgrade, use the command:
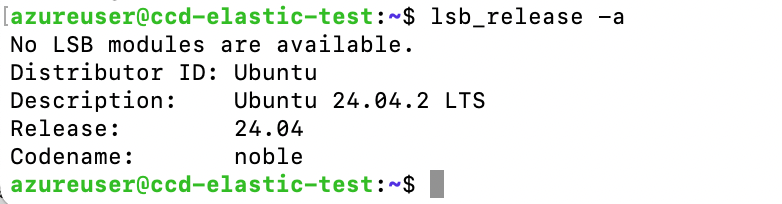
lsb_release -a
Which should produce a similar output as below
The upgrade only works one version at a time.
This section should be repeated until the VM OS is the desired version aka run this twice to get from 20.04 to 24.04
The final output should look like the screenshot below:
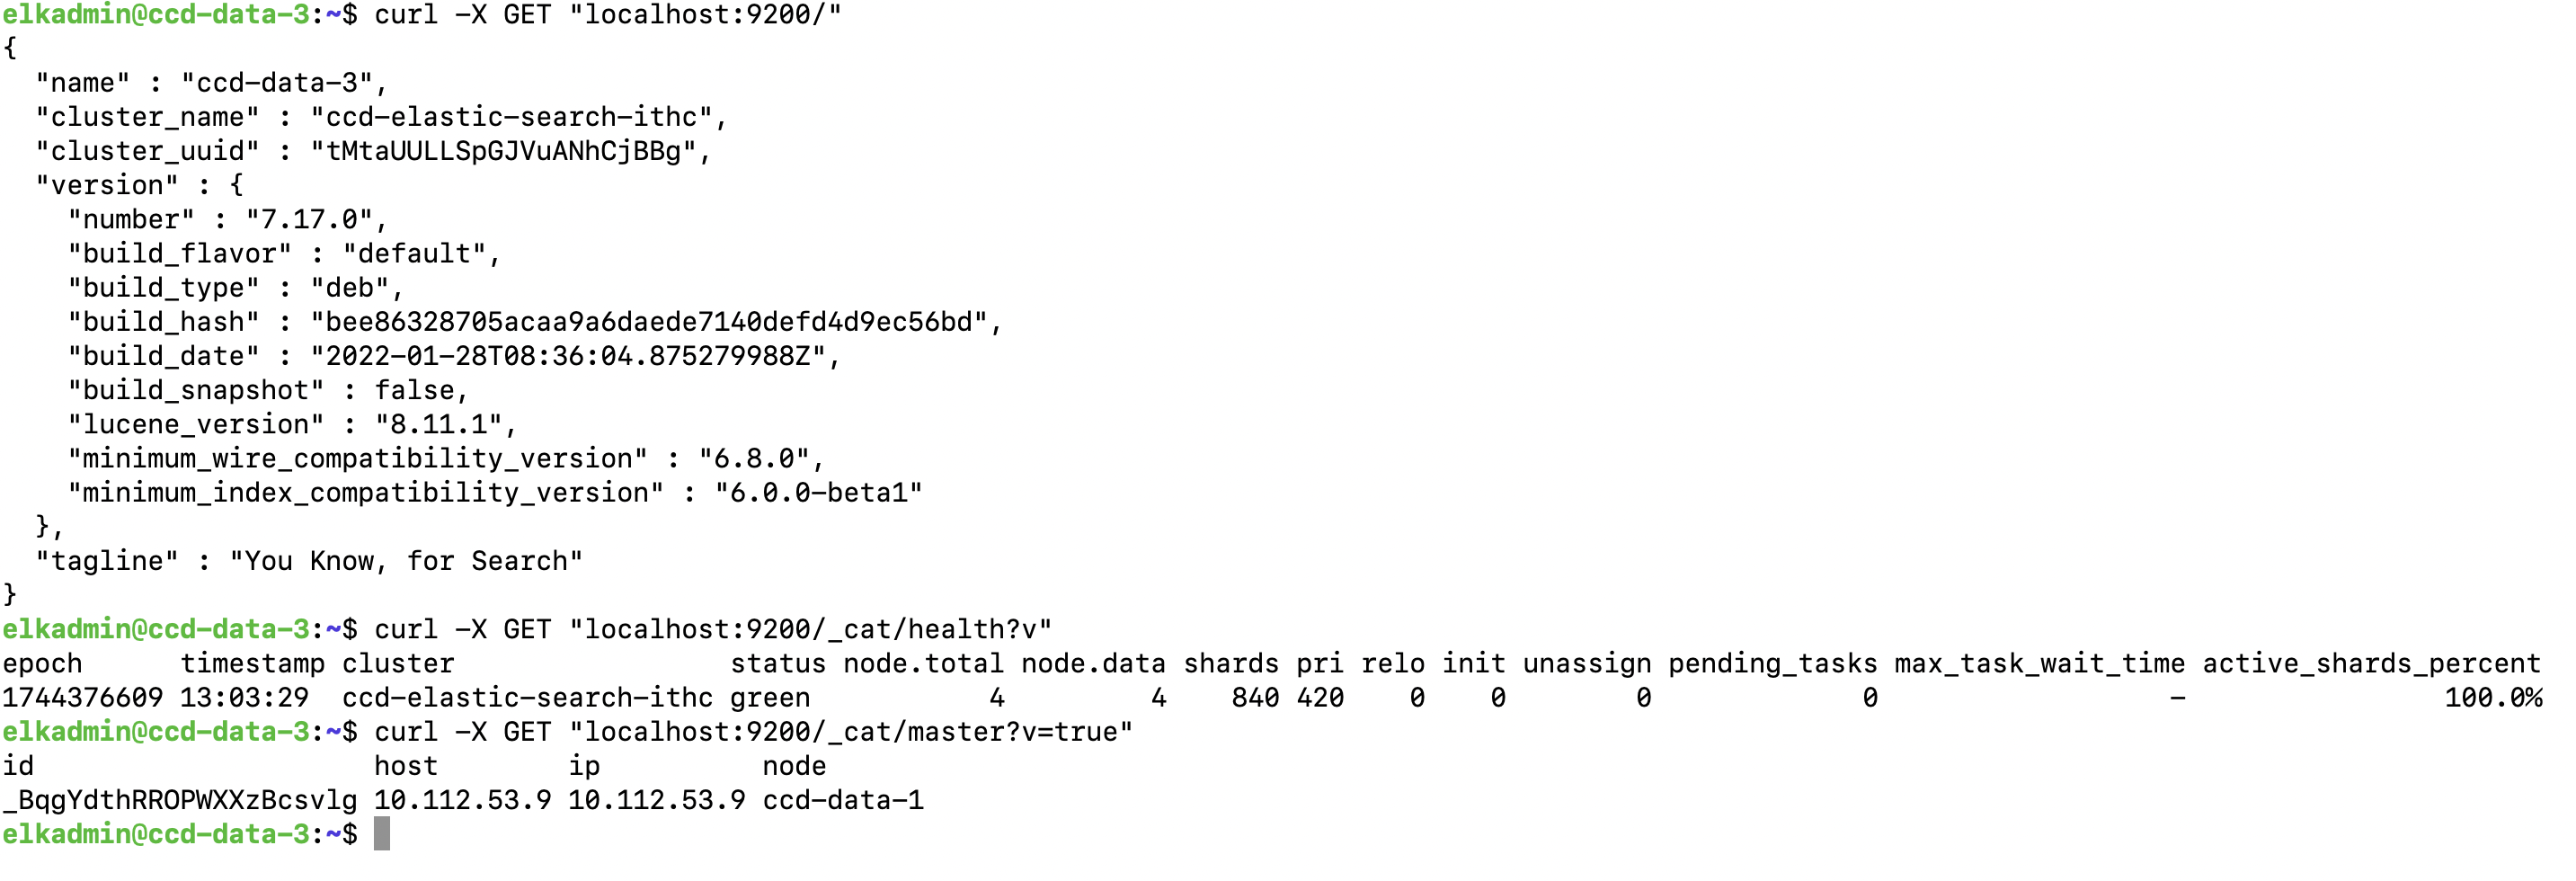
After each upgrade the following commands should be ran to check on the VMs health You should expect to see something similar to the screenshot below before and after each upgrade
curl -X GET "localhost:9200/"
curl -X GET "localhost:9200/_cat/health?v"
curl -X GET "localhost:9200/_cat/master?v=true"
Resources