configuring Tenable nessus
Configuration of Tenable SC, Nessus Manager and Nessus scanner are similar to each other but differ slightly. Tenable SC should be configured first. Please see below step by step guide.
Tenable SC Setup
Browse Tenable SC URL
Live: https://tenable-sc.mlv.lv.cjscp.org.uk/
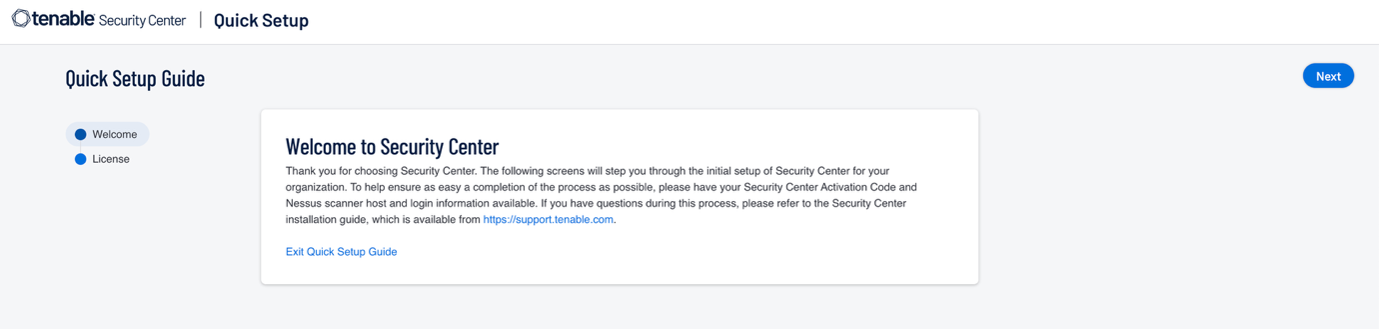
Start Configuration
Click next to start configuration.
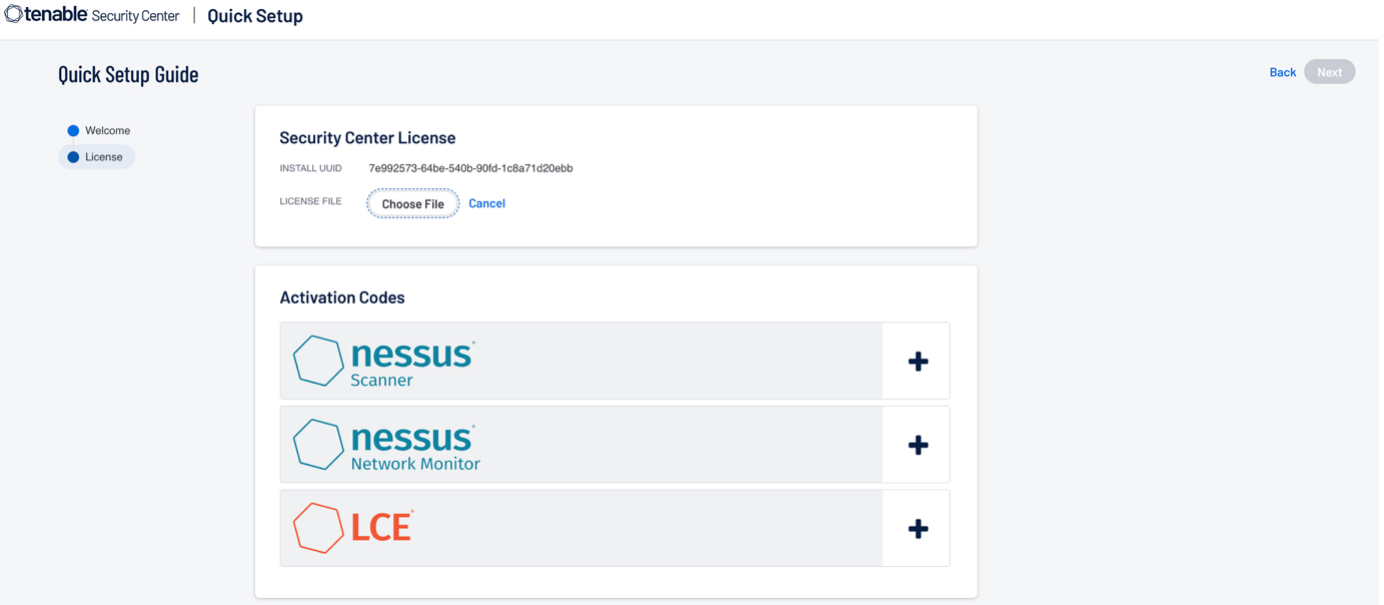
Upload License File for Tenable SC
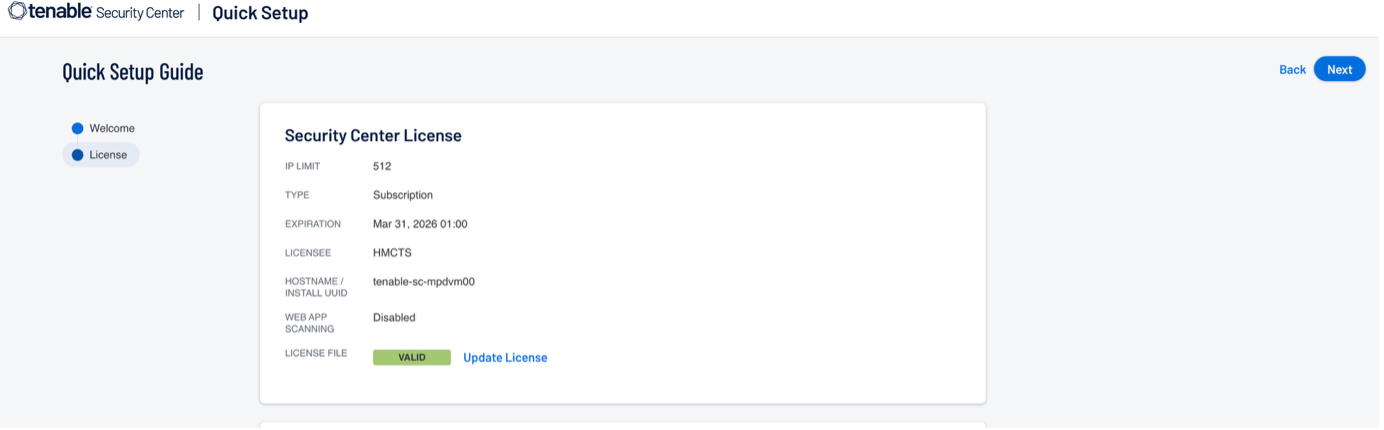
Once license has been updated and activated, click next.
Add Details for Nessus Scanners
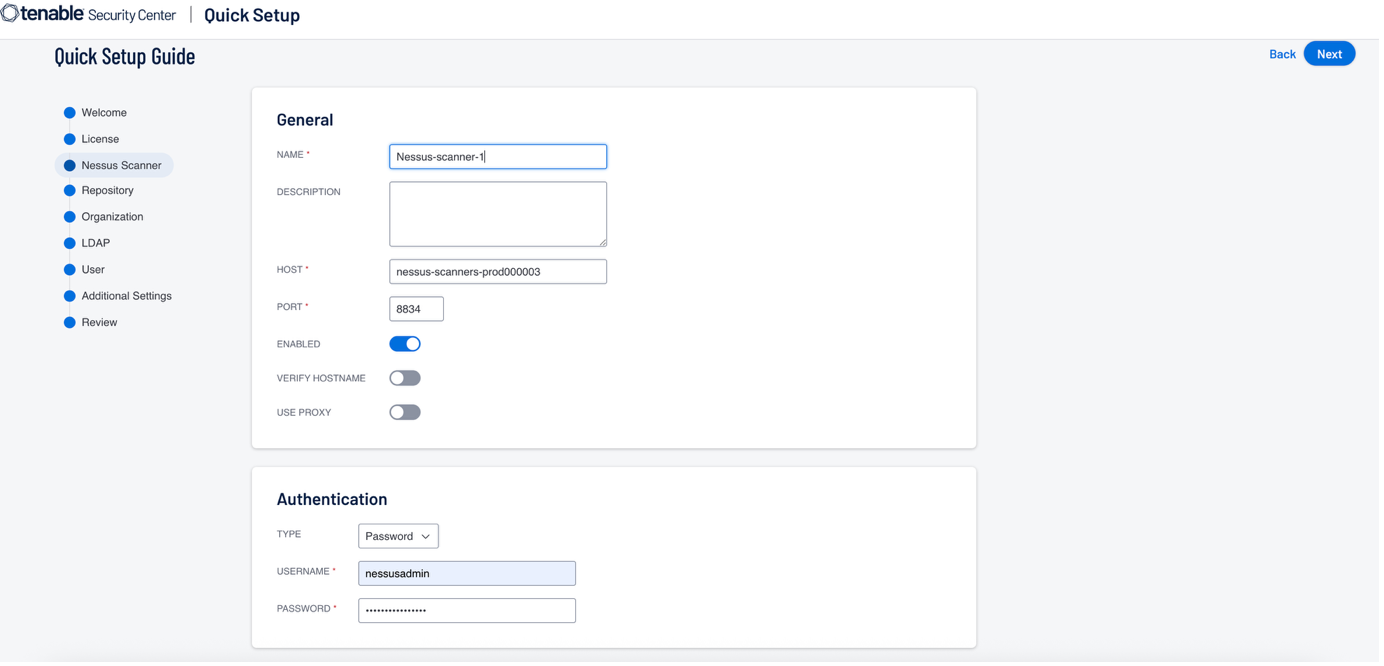
Details for Repository, Organisation and LDAP can be skipped.
Create Users
On User screen add username and Password for: - Security manager (Scan related configuration) - Administrator (Configuration of SC)
Make a note of these credentials.
Then go to review screen and confirm.
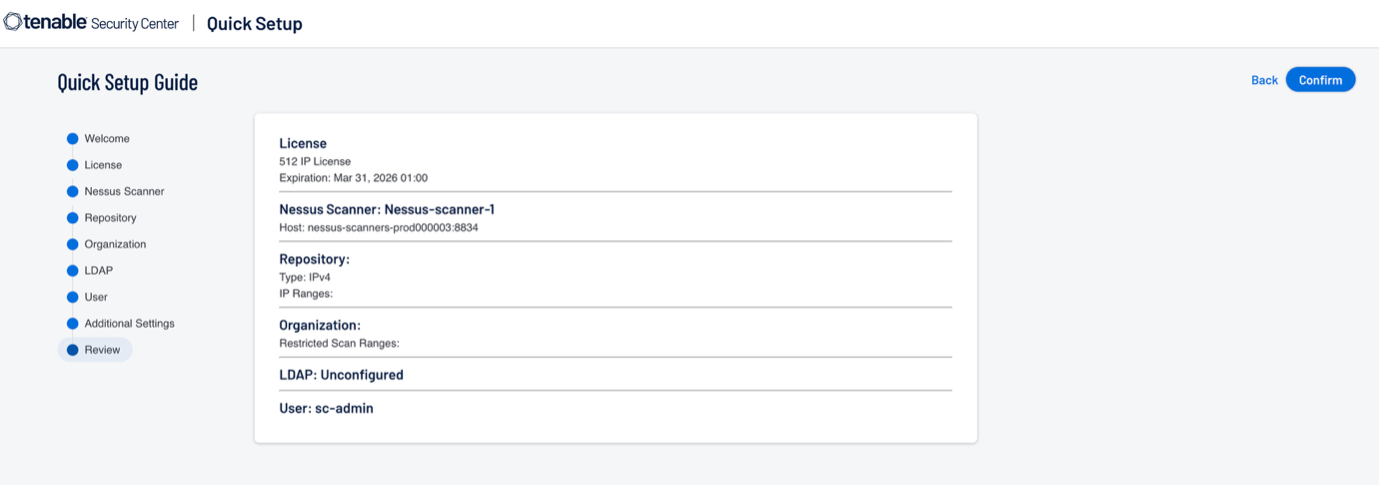
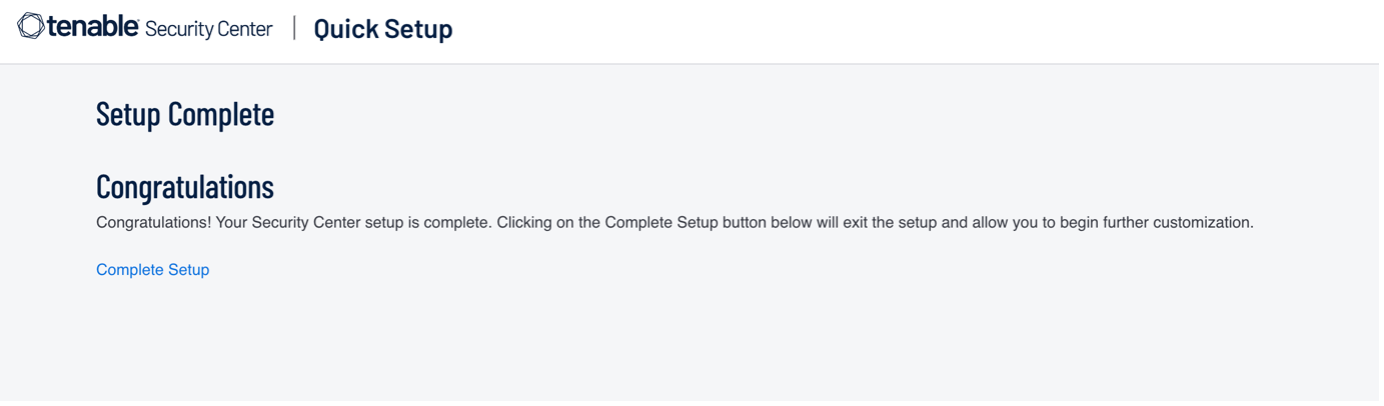
Initialization
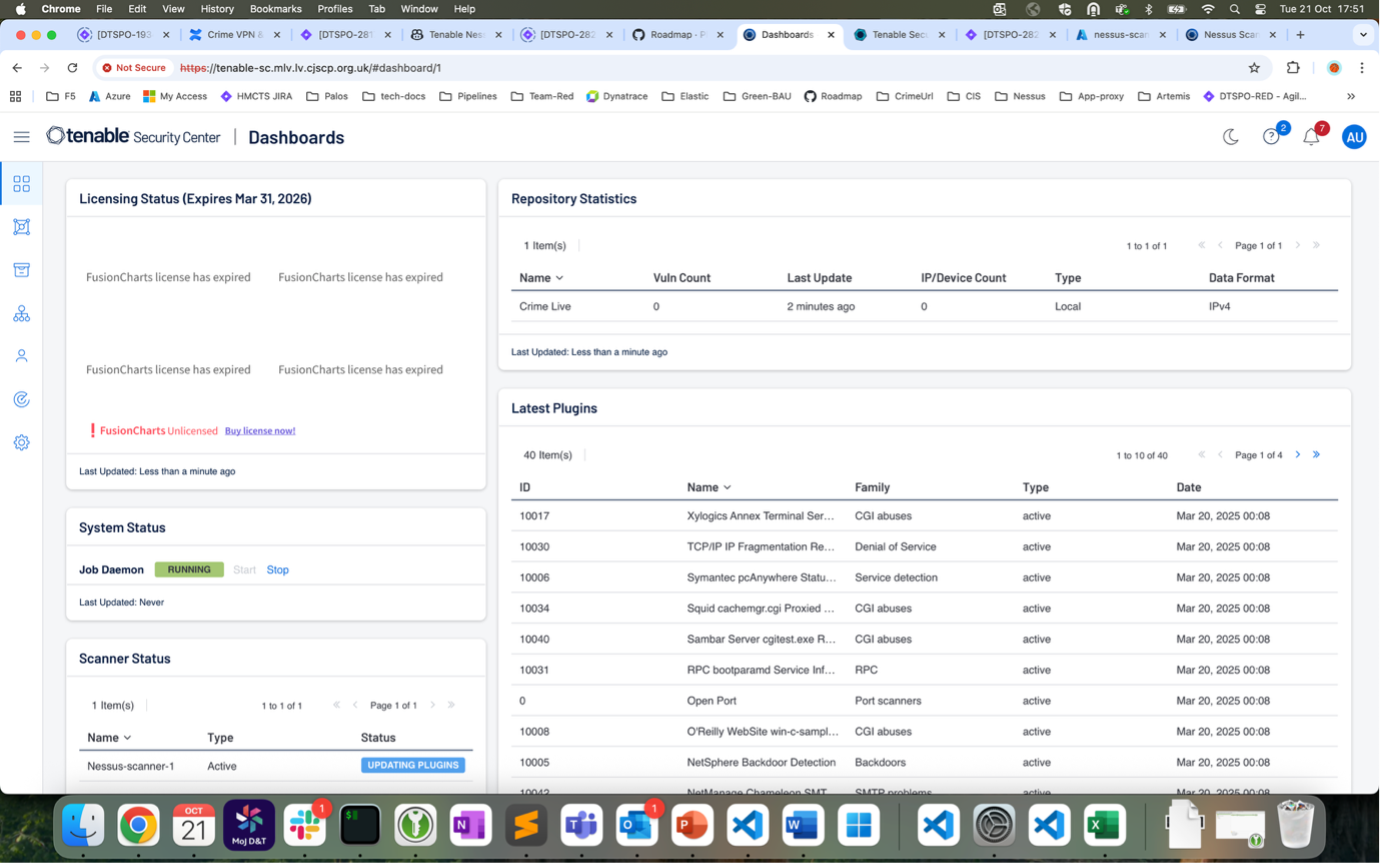
It will take few minutes to initialise, and setup will be completed. Then click on complete setup. This will take you to the main screen:
Nessus Scanners/Manager Configuration
Browse Nessus Scanner URL
Browse one of the Nessus scanner URL: https://nessus-scanners-prod_3.mlv.lv.cjscp.org.uk:8834
You will see screen like below to start configuration.
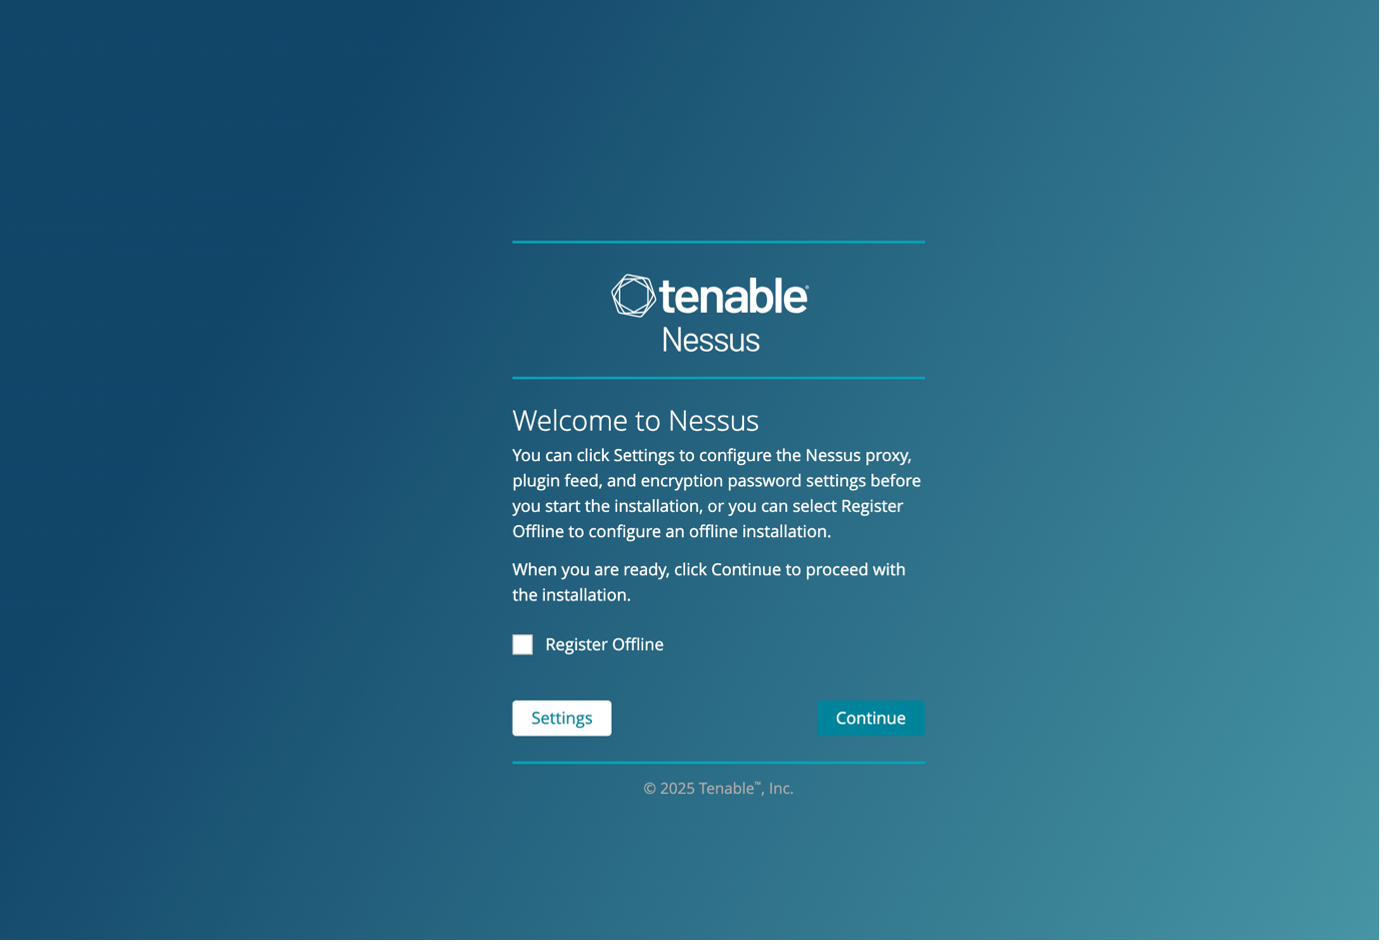
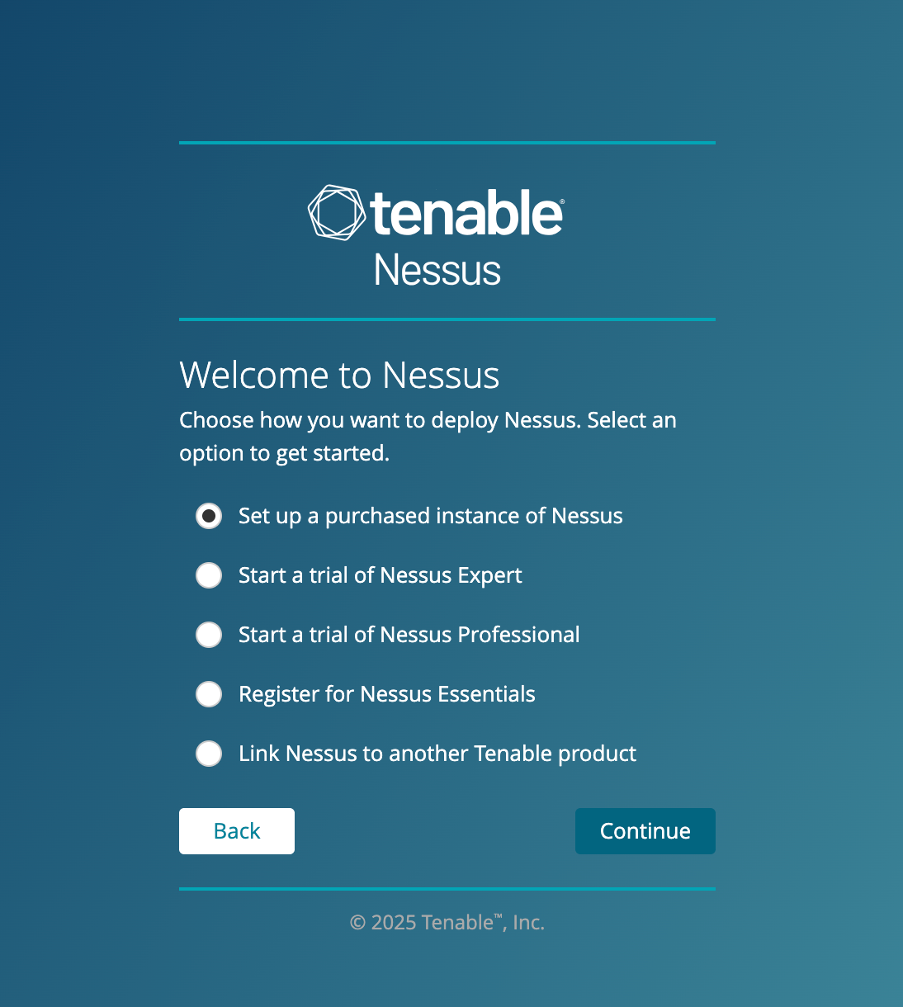
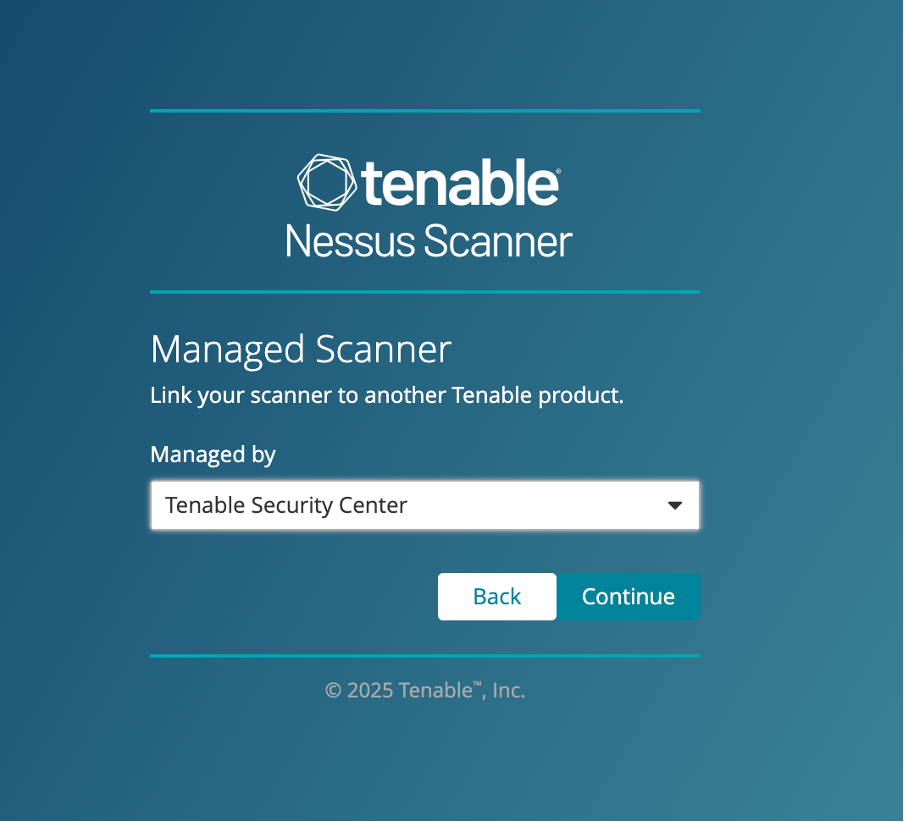
Select Configuration Option
On the next screen, select appropriate option.
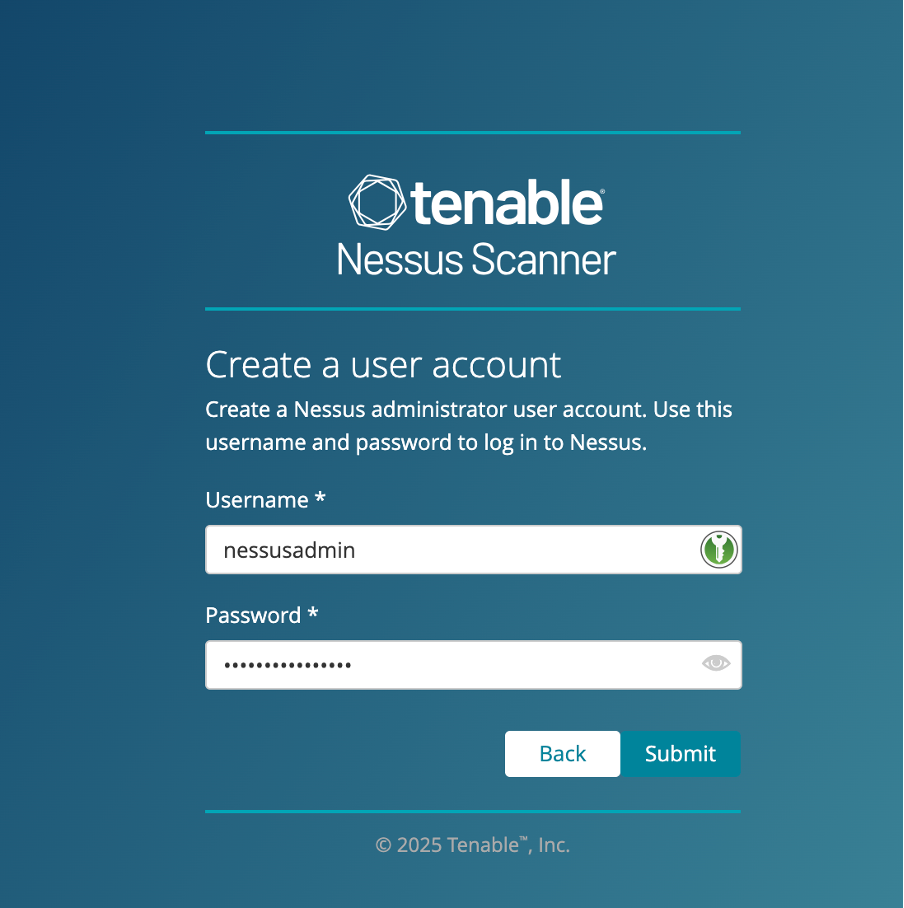
Add Credentials
Add username and password and keep it safe.
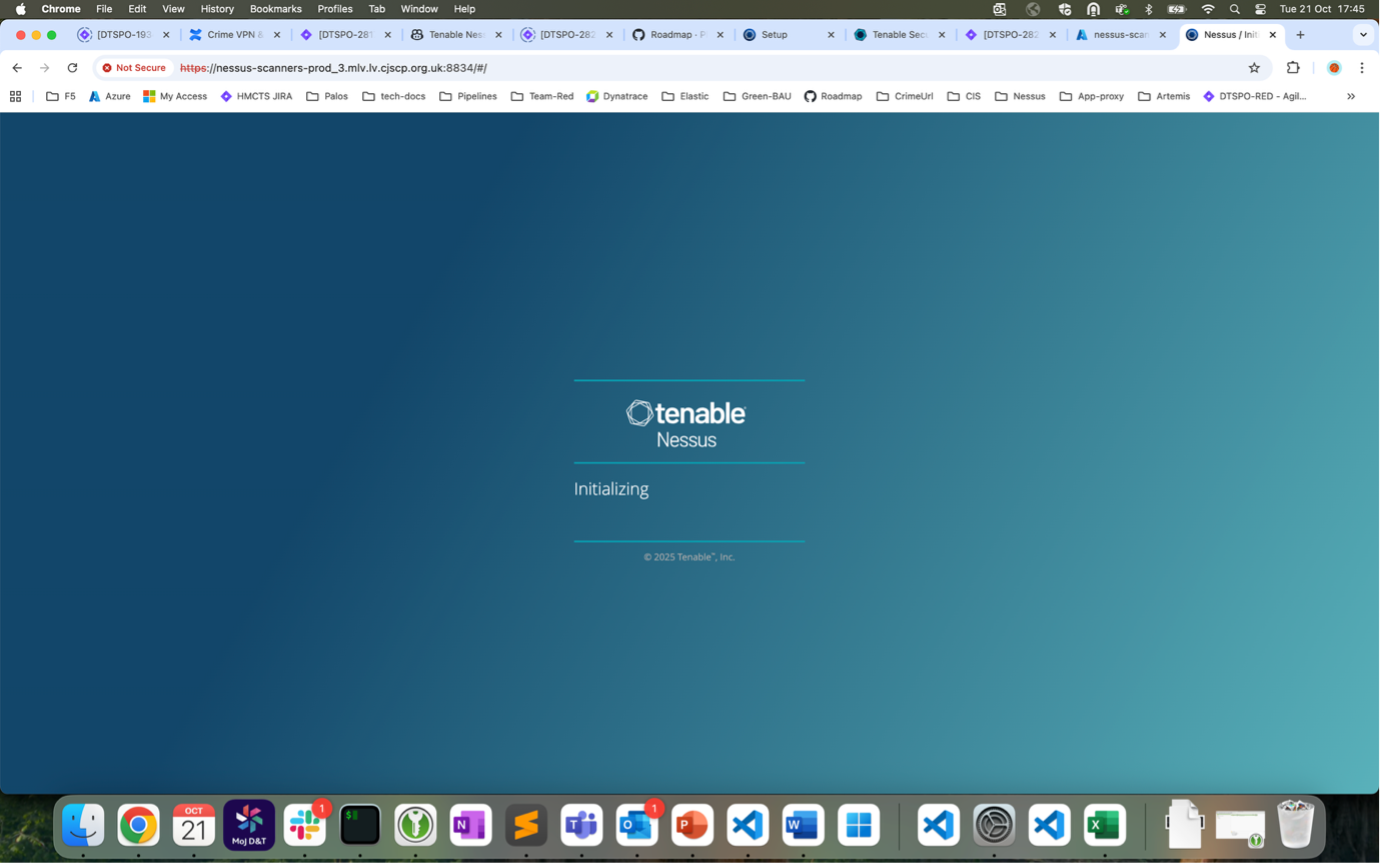
Initialization
Once you click on submit, it will start initialise and take few minutes.
Successful Setup
Once initialised, it will be redirected to below screen if successful. Nessus-Manager will have a tab for sensors as shown below.
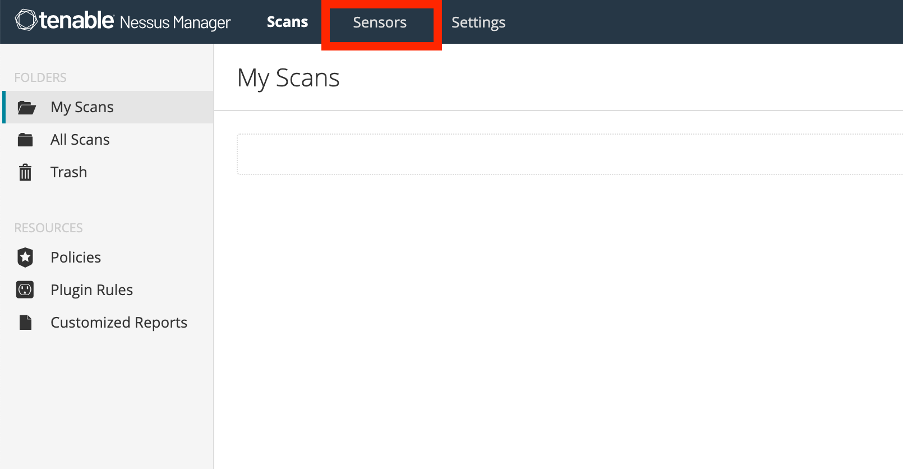
Get Linking Key
Click on the sensors, which will show the linking key. This key is very important when you need to connect agents to the Nessus manager. This will go in KeyVault (in CNP) or in HashiCorp Vault (in Crime) as a secret.
