Step 9: Configure DNS
In this step, you will complete your VPN configuration by setting up your DNS settings. This will allow you to resolve platform-specific Crime domains when connected to the VPN, such as:
Detailed guidance is also available in this document
Prerequisites
- You should have your Tunnelblick VPN mostly configured from Step 8
Configure Dnsmasq
Dnsmasq is used as a local DNS server that forwards queries to upstream DNS servers when you are connected to the VPN.
Option A: Use self-service script (Recommended)
Run self-service script in your terminal:
./self-service/run.sh dns
This script will:
- Check if you have dnsmasq installed and prompt you to install it using homebrew if not
- Verify if dnsmasq is running on your machine
- Locate your dnsmasq config file as it can be in two different locations depending on whether you have an Intel or Apple Silicon Mac
- Append the required configuration from a template into your dnsmasq config file
- Run dnsmasq test command to verify your configuration is valid
Option B: Manual Configuration
If you do not want to use the script you should install dnsmasq yourself and ensure it is running.
Then copy and paste the contents of this template file at the end of the configuration file which may be located in one of the following paths:
/usr/local/etc/dnsmasq.conf(Intel Macs)/opt/homebrew/etc/dnsmasq.conf(Apple Silicon Macs)
Set your macOS DNS to use dnsmasq
Once you have confirmed that your dnsmasq is running with correct configuration, you need to set your macOS network settings to use dnsmasq as the primary DNS server.
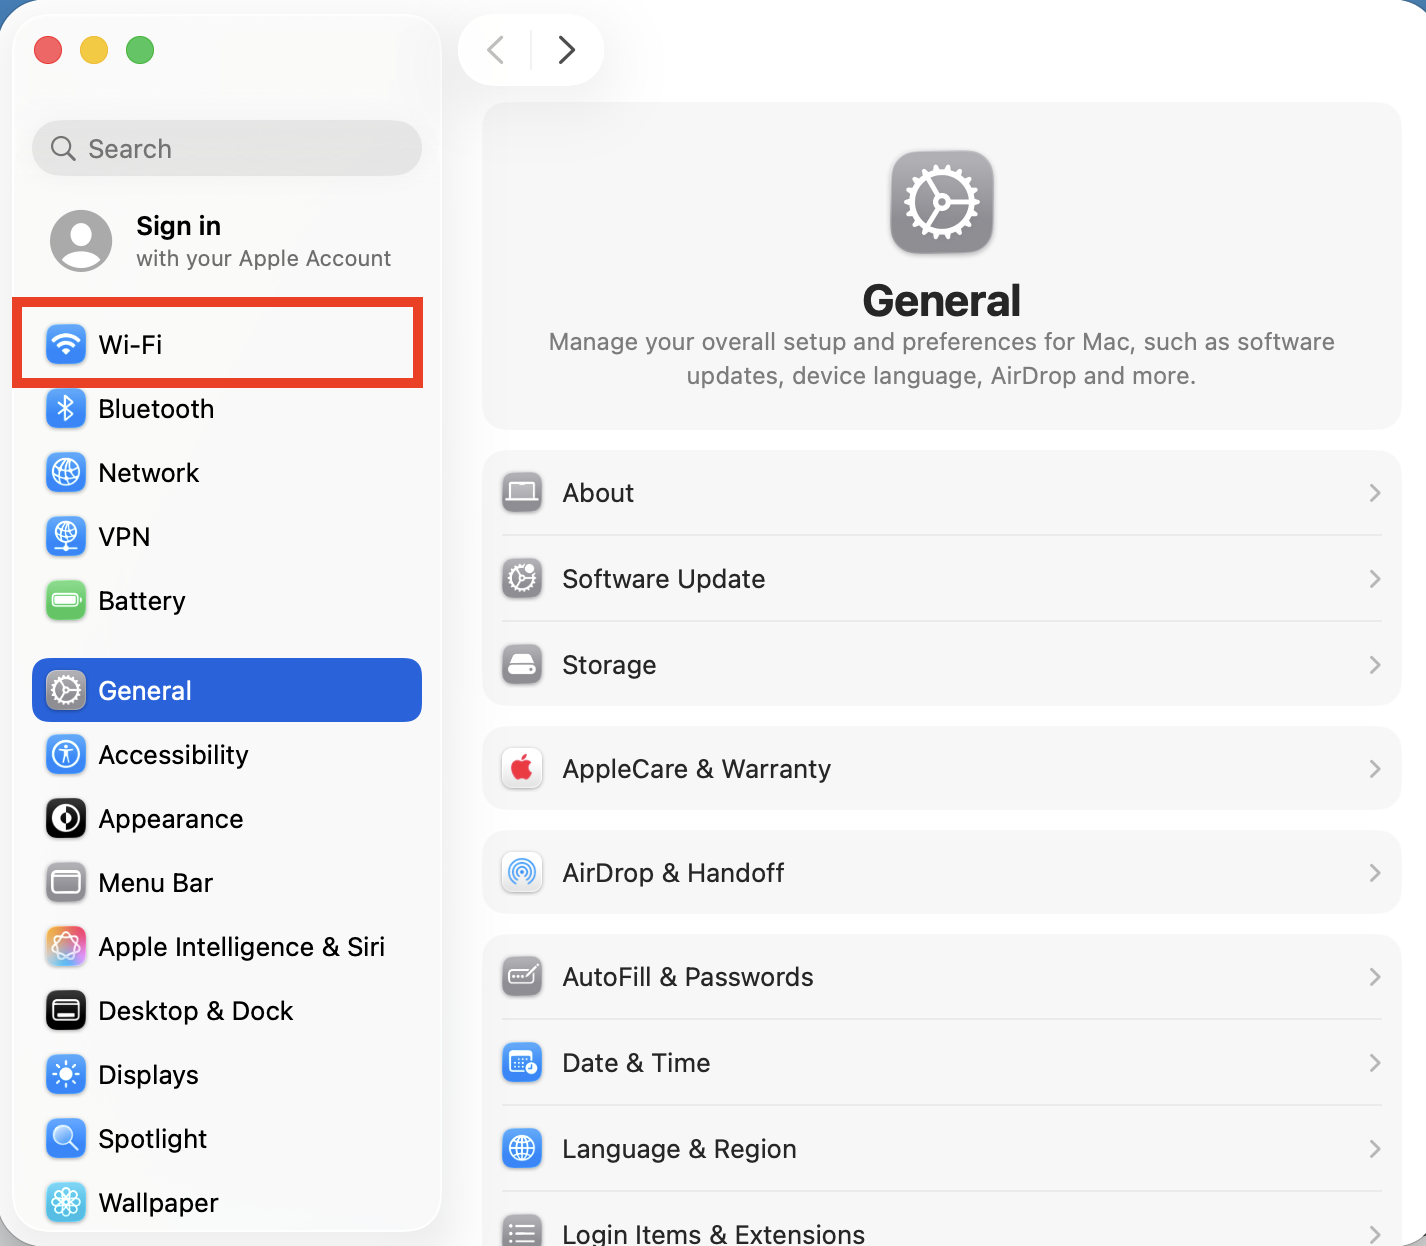
- Open macOS
Settings - Go to
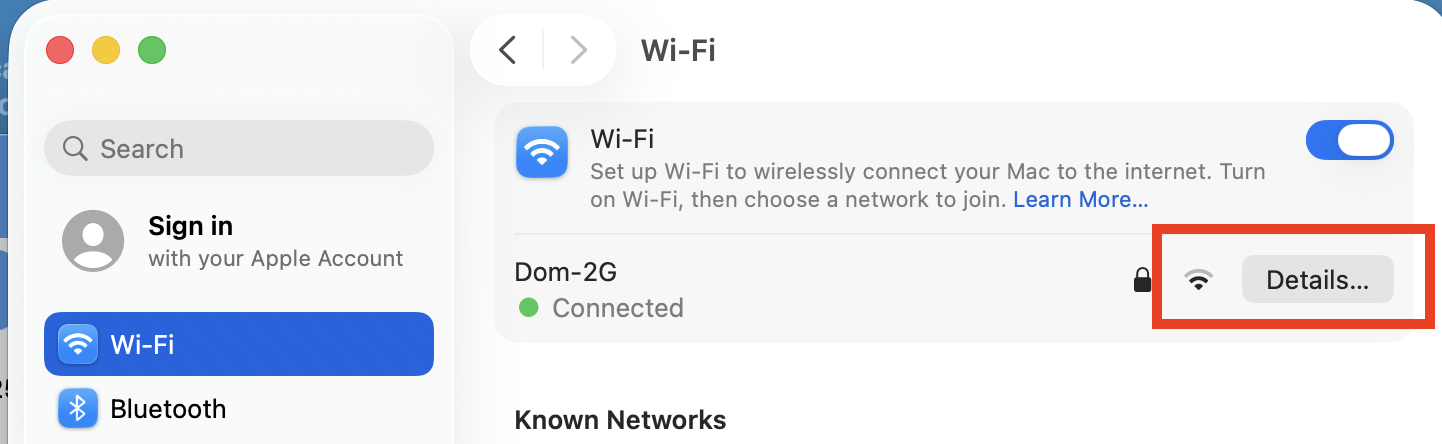
NetworkorWiFi - Click
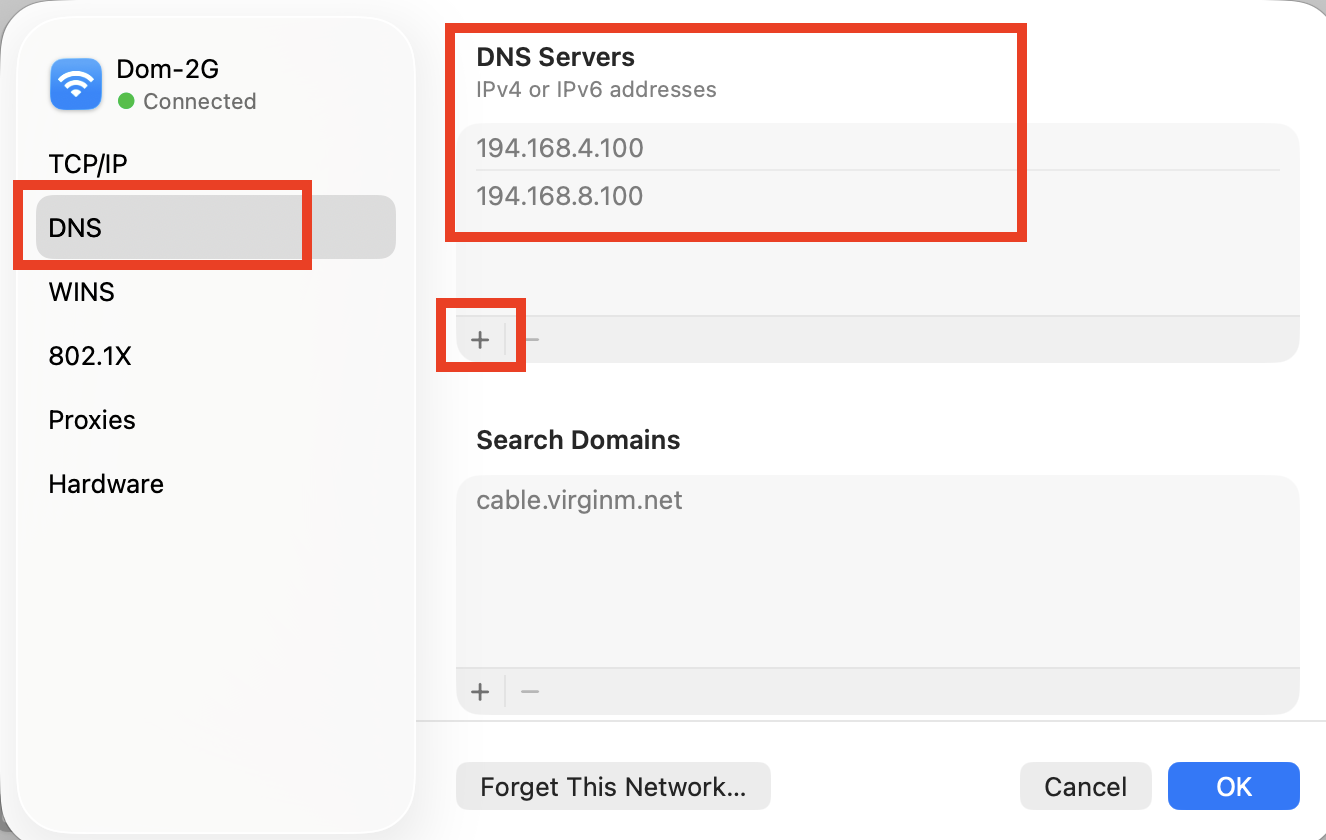
Detailson your active connection - On the panel to the left click
DNS - By default there should be no entries there just your ISP defaults
- Click the
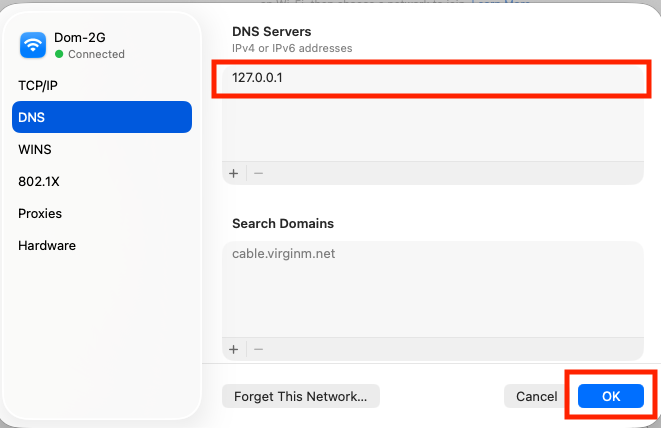
+button to add a new DNS server - Enter
127.0.0.1and press enter - you can close the settings app now
Provided that you are connected to the VPN you should be able to access platform domains while rest of the traffic should still go through your regular connection.
📋 View screenshot: macOS Settings App
📋 View screenshot: macOS Wifi Settings
📋 View screenshot: macOS DNS Settings
📋 View screenshot: macOS Set local DNS
Verify your VPN and DNS configuration
To verify everything is working correctly:
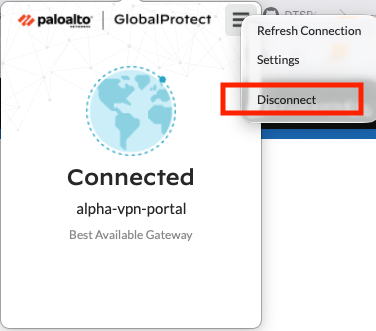
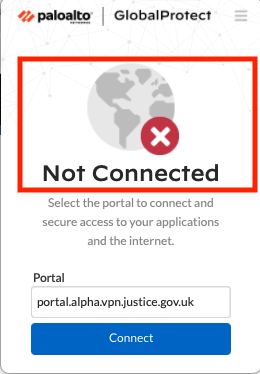
- Disable Global Protect - you cannot have Tunnelblick and Global Protect active at the same time because Global Protect overwrites all other configuration
- Connect your Tunnelblick VPN
- Open new browser window and verify you can access:
- If you encounter any issues reaching these sites, try restarting dnsmasq service using the following command in your terminal:
sudo brew services restart dnsmasq
⚠️ Disabling Global Protect is important - you will not be able to access Crime resources otherwise.You can re-enable it once you are done accessing Crime resources.
📋 View screenshot: Disable Global Protect
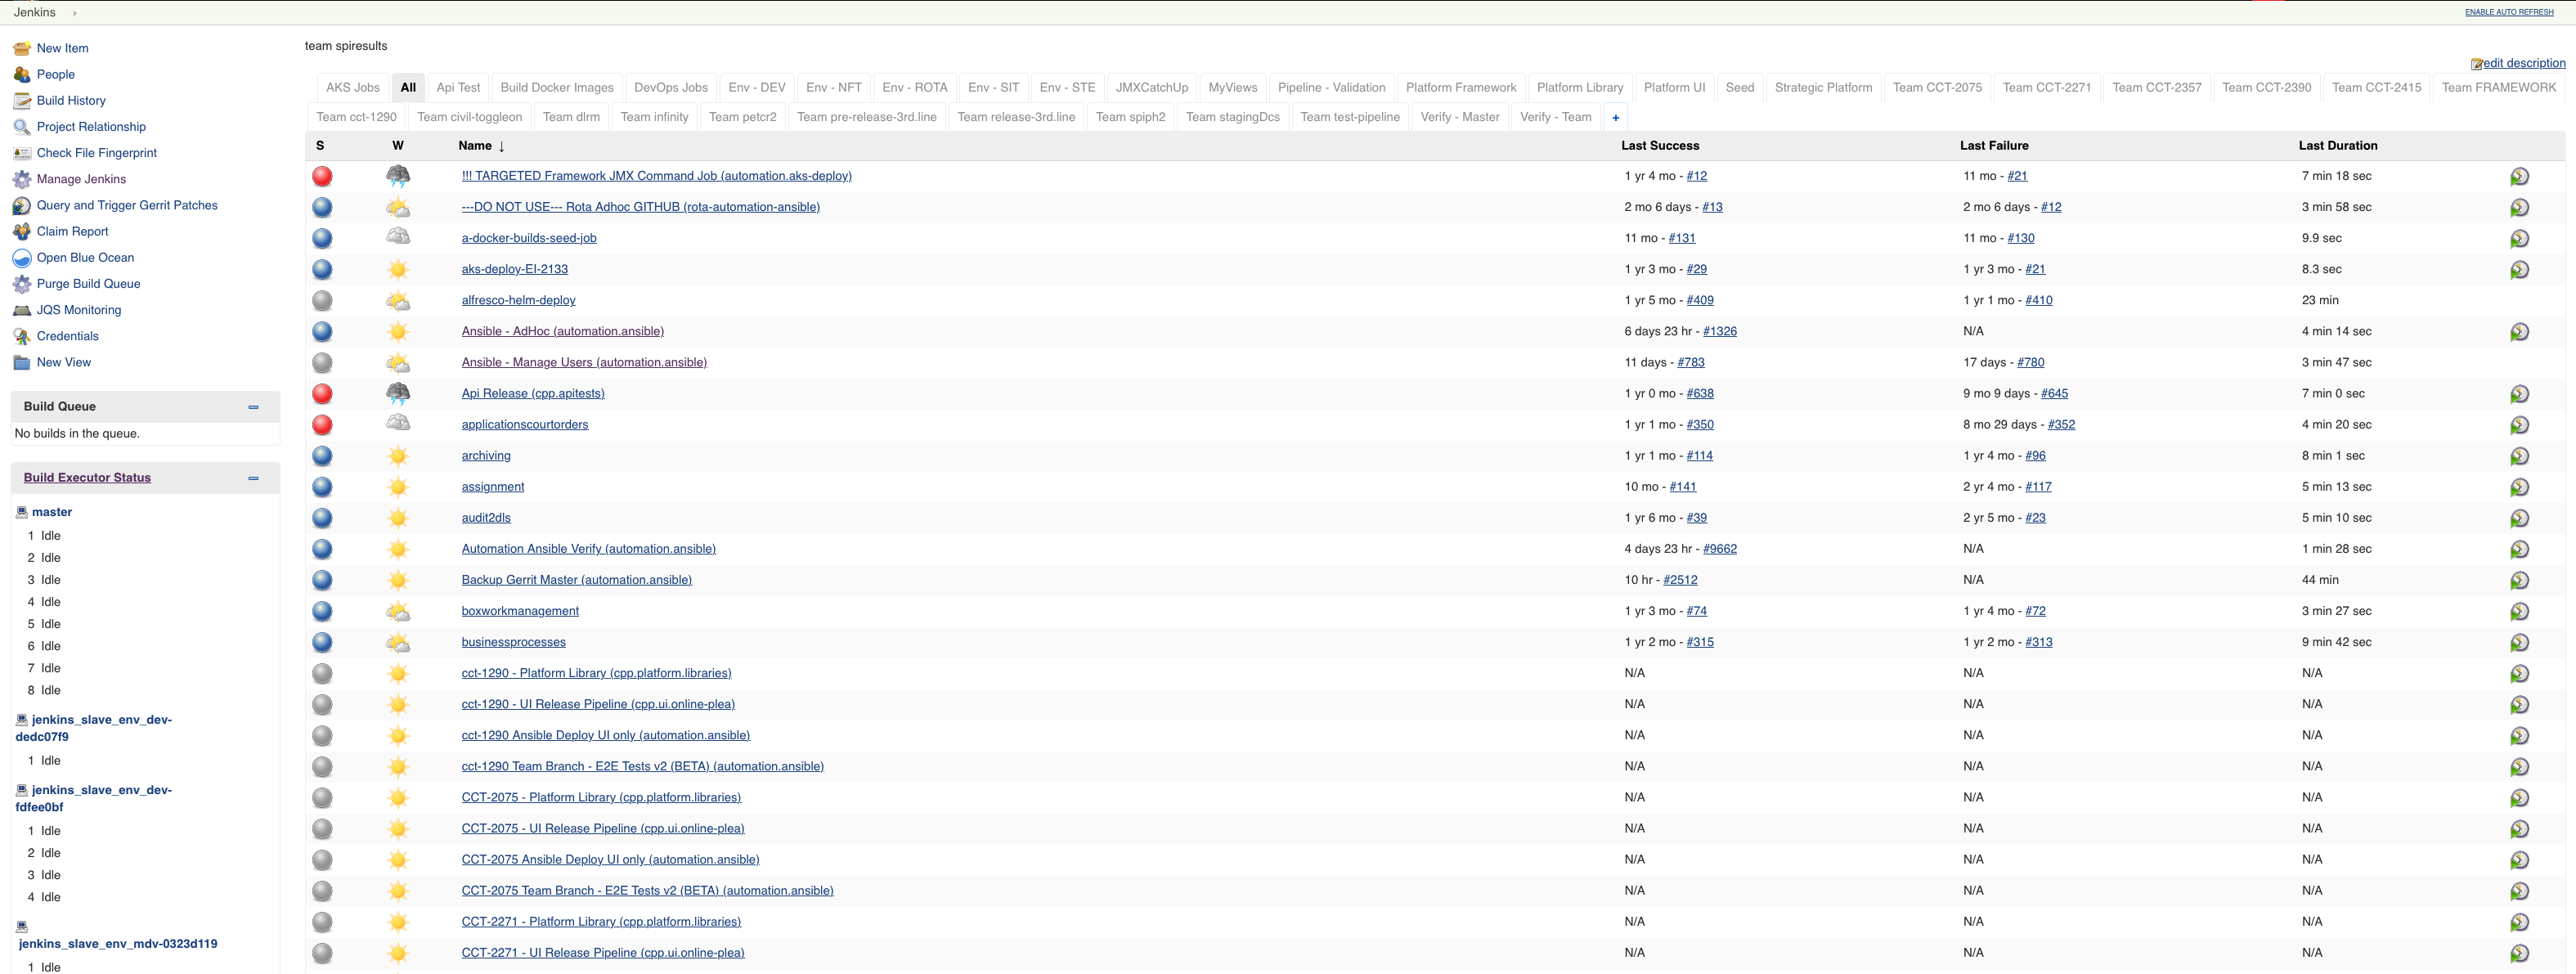
📋 View screenshot: Jenkins dashboard
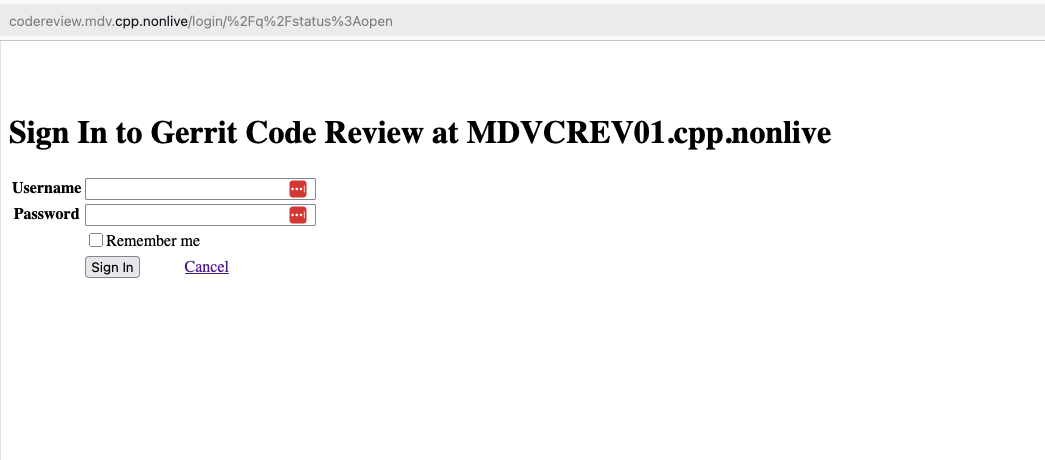
📋 View screenshot: Gerrit Code Review
Summary Checklist
✓ Dnsmasq installed, configured and running
✓ macOS DNS set to 127.0.0.1
✓ Global Protect disabled
✓ Successfully connected Tunnelblick VPN
✓ Able to access Gerrit Code Review and Jenkins sites
Next step: Step 10: Configure SSH