Prereq - CI/CD and SVC
If these terms are alien to you, this would be a good time to take a pause, grab your favourite beverage and have a read of the follow documentation
With that out of the way, the first thing we’ll need to get setup for the labs is a pipeline as all your code would need to run somewhere.
While we can execute our terraform code manually, as explained in the next section and mainly in lab environments or personal cloud accounts, we advice that you stick to having your code in a git repo in your live environments.
This section will introduce you to our Git repo and Azure DevOps pipelines, we know you will need to visit Git and Azure pipelines like everyday so we might as well get started with that.
Lab Git Repo
Platform Operations uses Git for its source control. To create a repo for your lab, follow the steps below
- Navigate to the HMCTS git organisations page. If you dont already have access you can double check the Onboarding Checklist to make sure you have the right access.
💡 TIP: If you haven’t been assigned a new starter onboarding ticket yet, message someone on the team in #platform-operations so they can create one for you (example: DTSPO-23262). This ticket tracks all the access you need to complete the golden path.
You can also speak to a team member to assist if needed in #platform-operations.
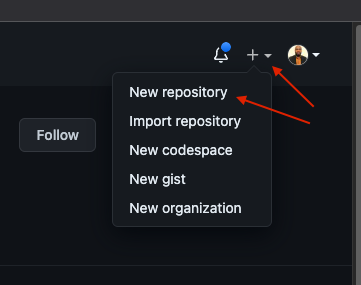
- Create a new git repo. Call this repo
lab-yourname-goldenpath. You can follow this convention in other sections of this exercise as this makes it easier to when cleaning up resources after the labs. Deviating from this naming through the tutorial will naturally cause issues as the name of the repository will may need to be referenced later on.
📝 IMPORTANT NOTES:
GitHub username: When creating your GitHub account, keep it all lowercase with no hyphens (e.g.,
johnb283notJohnB-283). Later parts of the golden path have case-sensitive inputs in DNS, Front Door, and other Azure resources, so a consistent lowercase username will prevent issues.Repository location: Ensure the repository is created in the HMCTS organization, not your personal GitHub account. Azure permissions and integrations will only work correctly with HMCTS organization repositories.
Permissions: Make sure your GitHub and Azure permissions are active before attempting any setup steps. If you encounter access issues, verify your permissions are in place first.
Create new Git repo
🔔 In a production environment you will need to update your new repository’s settings to allow merging to master | main only from a branch PR and also to require at least 1 reviewer for PR’s created. You can
learn more about this in the Managing your repository’s settings and features documentation.
- Clone your new repo to your local machine as you will need this later.
Lab Pipeline
You will also need a Azure DevOps pipeline to run your code. To create a pipeline, follow the steps below
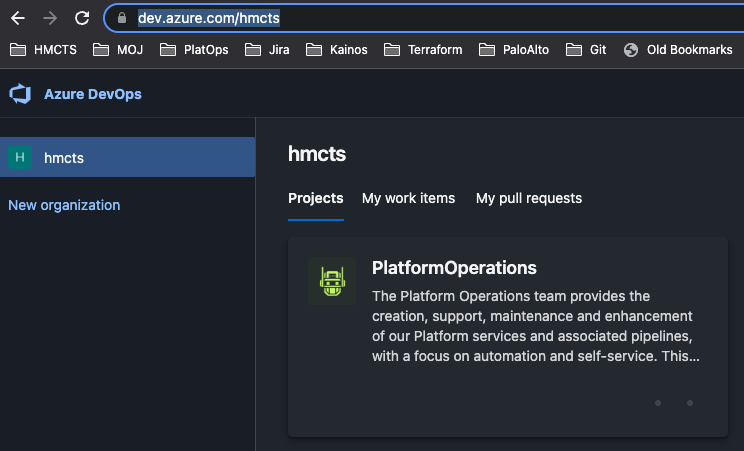
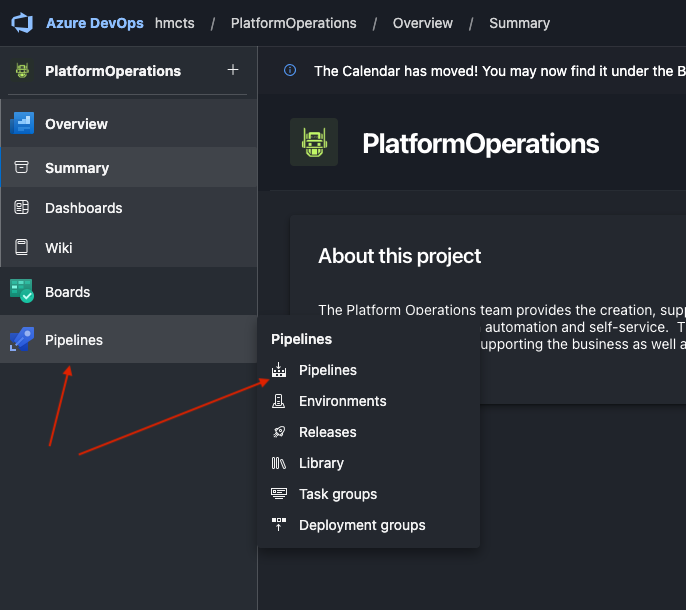
Create a pipeline in Azure Devops. In Azure DevOps, navigate to the HMCTS Platform Operations organisation. On the
Pipelinesmenu, click onPipelinesHMCTS DevOps Organisation
Create new DevOps pipeline
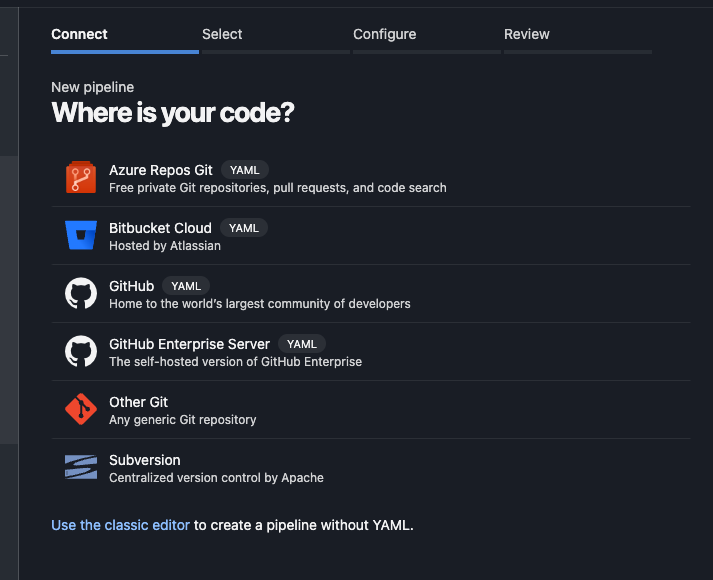
Specify where you code repository is, in our case this would be Git
Specify Git repository
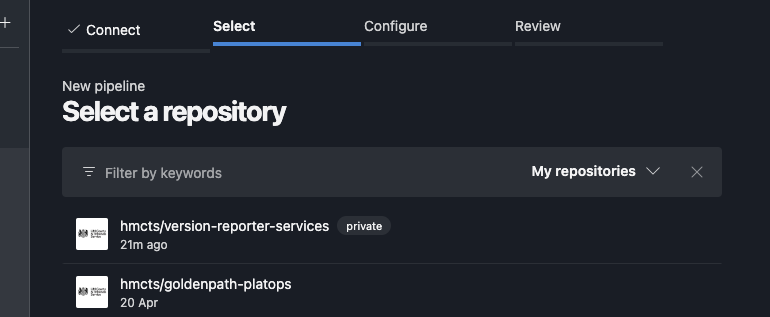
Follow the relevant screens and prompts, select your lab repository in Git which would be an item in the repos listed after authentication is complete. To keep things tidy, place your pipeline in the ‘golden paths’ folder. You may see screens similar to the once below
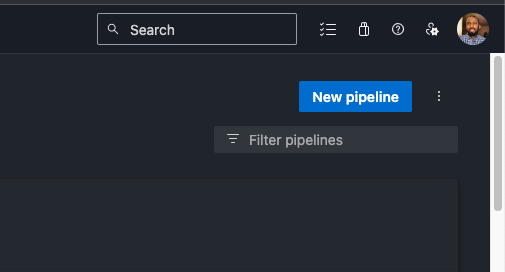
Create new pipeline
Select new pipeline repo
Authorise Azure DevOps

Build your resources
To get your resources provisioned, follow the steps below
- In the lab-azure-resource folder copy all the files into your repo root folder.
Your repo folder on your local machine should now look like this
  .
  ├── .gitignore
  ├── azure-pipelines.yaml
  └── components
      ├── README.md
      └── lab
          ├── main.tf
          ├── provider.tf
          └── variables.tf
📣 NOTE: You may want to modify prefix in your resource names defined in main.tf. This will make them easier to identify, especially when there are multiple people doing labs at the same time. Ensure that the total resource name lengths do not exceed Azure limits, example:
prefix = "xy-${formatdate("YYMMDDhhmm", timestamp())}"
- Commit and push to your repo. This will trigger a devops pipeline run.
What did i just create?
A lot has happened and is a good place to walk you through what’s taken place so far
- If you have a look into the pipeline
yamlfile you will notice the following piece of config
  resources:
    repositories:
      - repository: cnp-azuredevops-libraries
        type: github
        ref: refs/heads/master
        name: hmcts/cnp-azuredevops-libraries
        endpoint: 'hmcts'
This loads a central template resource that used in all our repos to provide base or required functionality that most pipelines need, you don’t have to configure certain functionality from scratch, you simply reuse.
Have a look at the cnp-azuredevops-libraries repo to find out what capabilities this can give you in your other projects.
You have all the terraform resource configuration that will spin up your lab resources
You dont need to manually run or define
planorapplystages why?… yes, you guessed right, because it’s already configured in thecnp-azuredevops-libraries‘s terraform step.
This is done by using the functionality as below
  - stage: deploy
    jobs:
      - job: PlanAndApply
        steps:
          - template: steps/terraform.yaml@cnp-azuredevops-libraries
            parameters:
            ...
and pass in the required parameters
- Thank us later 😉, you now have a default template that you can always use as a starting point on most repos you will create in the real world 😎.
Getting Help and Monitoring Your Work
💬 Need help? You can raise tickets or ask questions in the #platops-help Slack channel. This is primarily for permission issues or complex problems that the general Platform Operations team can’t resolve on their own. For standard questions or guidance during the golden path, reach out to your team members directly in #platform-operations.
🔍 After merging your work, always check:
- Azure Portal: Navigate to your resource group in the Azure Portal to verify resources were created correctly
- Azure Pipelines: Review the pipeline run in Azure DevOps to ensure the build and deployment completed successfully
These tools are invaluable for:
- Confirming your changes deployed as expected
- Debugging issues when things don’t work as planned
- Understanding the state of your infrastructure
Make it a habit to check both after every merge to master. This helps catch issues early and builds your understanding of how infrastructure changes flow through our CI/CD pipeline.